
How to make an Instagram AR filter using Mac or PC – iGeeksBlog
Augmented Reality (AR) filters have a spectacular visual effect that makes almost anyone want to view them. Many create and use them to spike brand awareness. Unfortunately, most people don’t know how to make Instagram AR filters since there’s no built-in feature on Instagram.
However, I can vouch that it gets easier with practice. In this article, I’ll show you how to create a custom AR filter for your Instagram story on Mac or PC and publish it via the Spark AR Hub for people to reuse it on Instagram. Stick along and grab a coffee!
What tool can you use to make an Instagram AR filter?
The easiest and official way to make an AR filter is via Meta’s Spark AR Studio for Mac and Windows. To test your filters, pair the desktop app with the iOS version, AR Player; this allows you to peek at how your filter will appear on a mobile phone.
What does an Instagram AR filter do?
An Instagram AR filter lets you create compelling augmented realistic visual effects. For instance, you can use it to mask your face or simulate a real-life environment as the case requires. Generally, an AR filter lets you immerse tangible objects around you (including yourself) into an enhanced visual perception.
Instagram AR filters are interactive and don’t feel tardy like avatars. For instance, an AR face mask created using an AR Studio will not only blend with your face but also move with your facial expressions.
How does Meta’s Spark AR Studio work?
Meta’s Spark AR Studio provides an easy-to-use platform where you can create different AR effects. As of writing, it’s available as a desktop app providing all the utilities you need to create an AR effect.
Any AR effect you publish from the desktop app goes to the Spark AR hub, pushing it to your Instagram profile as your custom AR filter. Meta also provides a testing app, Spark AR Player, which you can pair with the desktop app to see how your filter looks on a mobile interface. You can install it from the App Store or Play Store.
The Spark Studio has many features, though. But you don’t need to worry about them if you’re only starting. However, I recommend going through the five-minute introductory tutorial when opening the app for the first time.
From experience, people with Blender and 3D or 2D graphics design background pick up the pieces in no time. But even if you don’t have prior knowledge of graphics design, I’m sure you’ll still find it straightforward.
Spark AR Studio features immersive audio, occlusive, and depth effects and offers high flexibility. You can add audio and even import 3D objects from simulation tools like Blender. Ultimately, you can post your AR effect to the Spark AR Hub for people to reuse.
How to make a custom Instagram AR filter on a PC or Mac
To start, download and install Spark AR Studio as well as Spark AR Player.
While it’s not a rule of thumb, you might have to connect your iPhone with your PC or Mac. Therefore, if using a PC, ensure you download and install a compatible version of iTunes from Apple Support. Now, launch the Spark AR Studio on your PC or Mac and authenticate with Facebook to Sync your Instagram profile.
You can spin up many other AR effects in Spark AR Studio. But for this tutorial, we’ll create a simple face mask from the Spark AR Studio and sync it with your Instagram account using the following steps:
1. Download face assets
First, download face assets by going to Spark’s Face Reference Assets guide page and clicking the download link in the text.
So, these face assets or meshes are reference guides for adding objects like tattoos or brand names to your face. Essentially, reference guides serve as templates, helping you place objects exactly where you want. You don’t need them in the final output, as you’ll have to remove them, leaving the added objects behind.
2. Design face asset
You’ll need knowledge of graphics design here, as you’ll use apps like Adobe Photoshop, Gimp, or any other design tool to add objects to your face.
For this tutorial, we’ll download free PNG images people often use as tattoos from free image websites like Pixabay or Pexels. You better use PNGs, as these don’t have a background.
Now, unzip the face reference folder you downloaded from Spark earlier. Next, open it and go into FaceAssets → Textures folder. Open your chosen face mesh using a layer-based graphic design tool like Gimp or Adobe Photoshop. In my case, I’ll be editing the faceMasculine mesh using Gimp.
Place the PNG images you downloaded on your chosen face mesh, resize, rotate, and design them as you want.
Hint: You can write your brand name on the face mesh rather than place the PNG images on it as instructed.

Next, set the background (the reference mesh) to hidden to get a PNG design all through. Your face tattoos are now in strategic positions. Export the output as PNG.

3. Create an Instagram filter using Spark AR Studio
After adding effects to your face, go back to Spark AR Studio and follow these steps to embed the designs on your face:
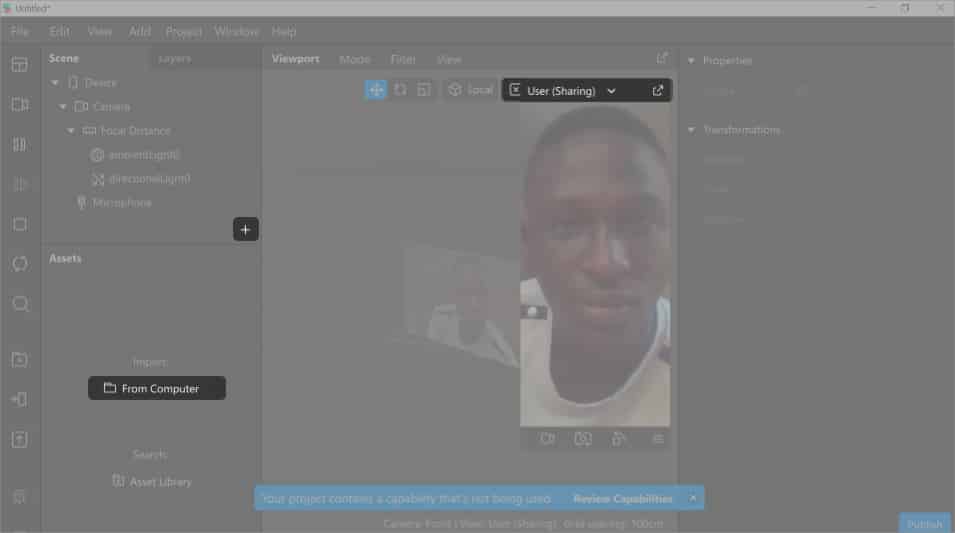
- Click Create New on the left sidebar.
- Select Sharing Experience. This will open the AR Studio designing interface with the Viewport.
Note: You can go with Blank Project, but AR Studio recommends Sharing Experience for reels and stories. - Under the Scene sidebar, you’ll see a list of the default scene objects.
- Next, under the Assets tab, click From Computer → select the face mesh design.
- Right-click that design → go to Actions → select Use As A face Mask.
You can close the patch editor for a better view.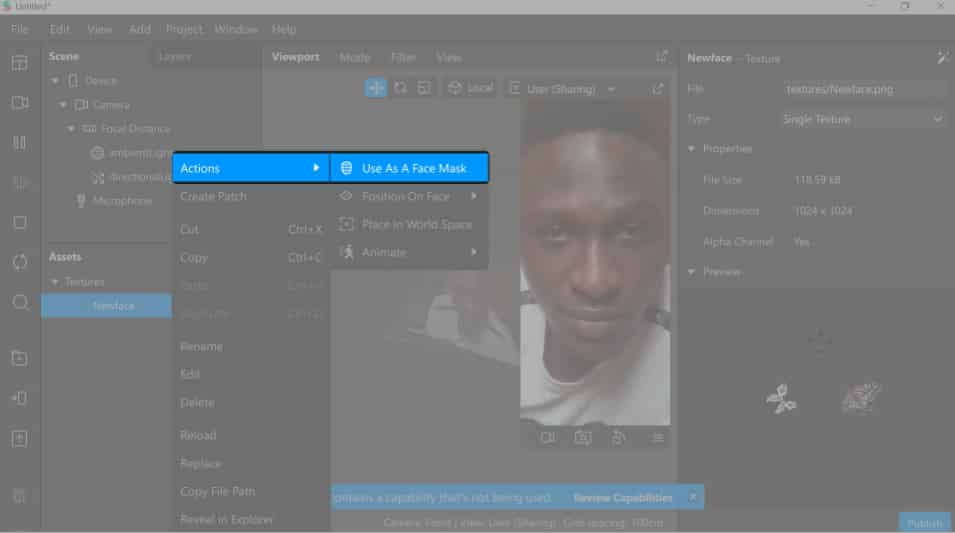
You should see the designs you added to the mesh now embedded on your face and moving with it. That’s it for the Spart AR Studio part.
4. Test your AR effects on your iPhone
Now, open Spark AR Player on your iPhone and follow the steps below to cast your design to your iPhone’s camera for testing:
- Connect your iPhone to your Mac or PC using a USB cord.
- Go back into Spark AR Studio on your computer:
- From the thin sidebar on the left, go to the Phone icon (the Test on device icon).
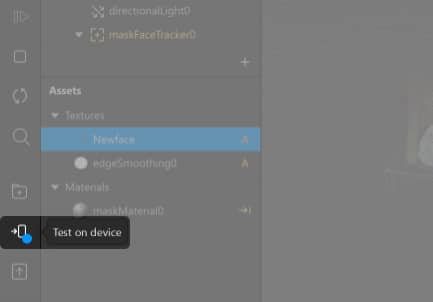
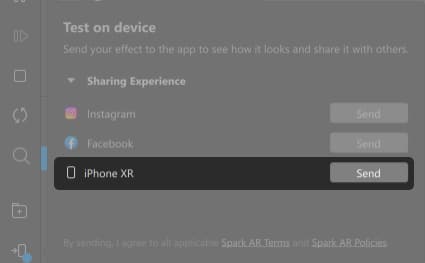
- Click send next to your iPhone’s name.
- Optional: Click Send next to either Instagram or Facebook AR hub to send there.
- From the thin sidebar on the left, go to the Phone icon (the Test on device icon).
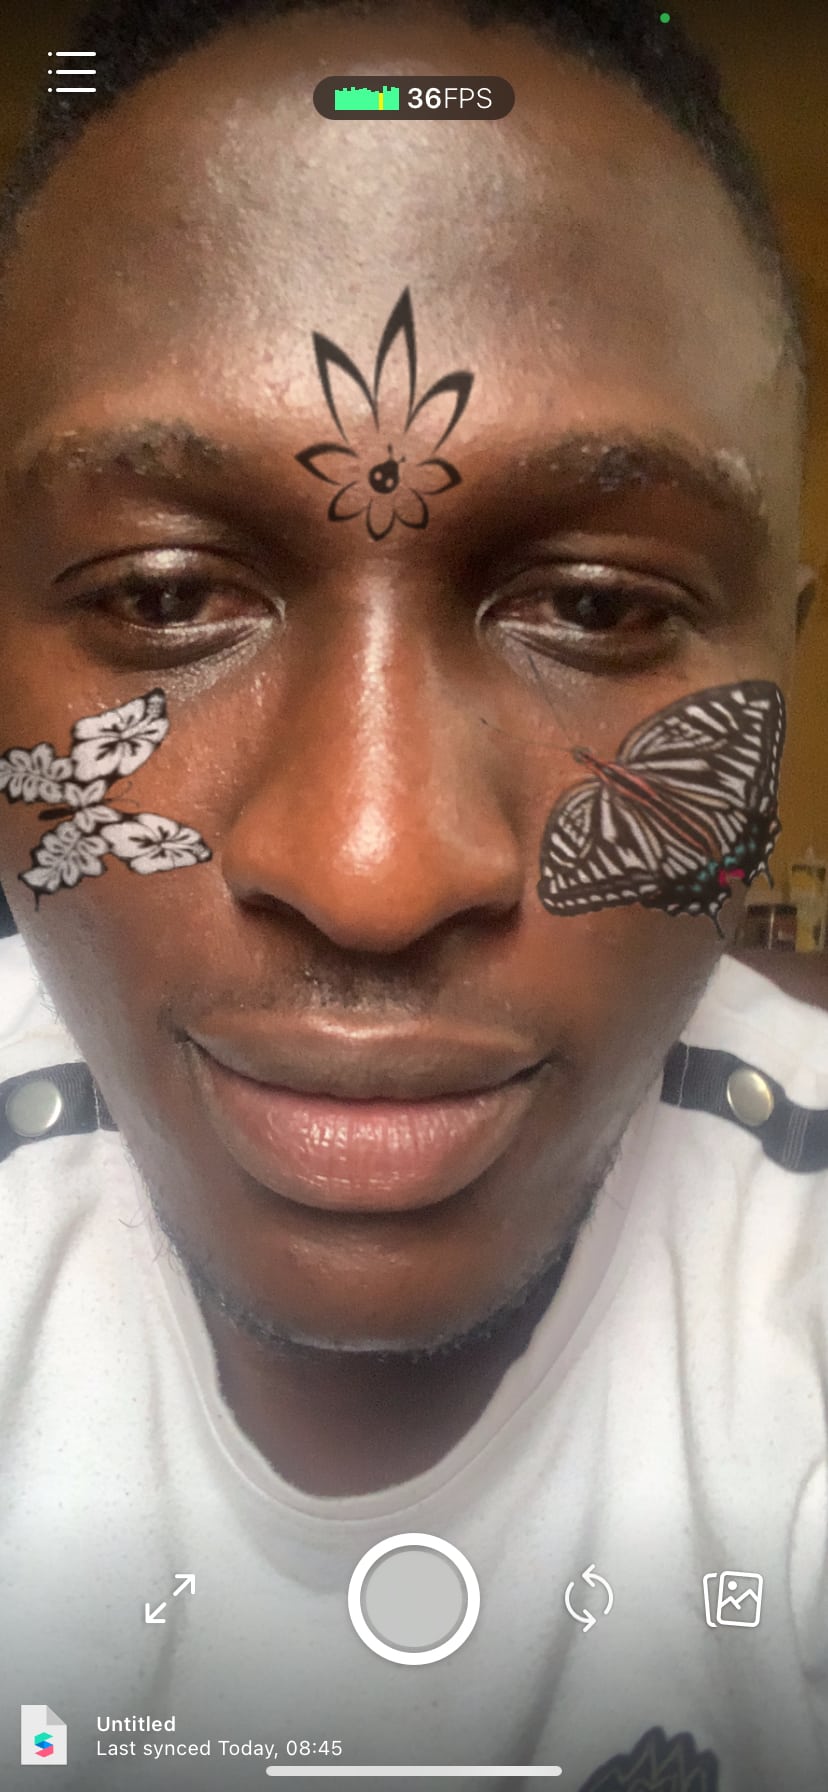
- You’ll now see the designs on your face via your iPhone camera.
- Long-press the shutter to make a video or tap to take a picture.
Spark AR Player saves videos or photos you take while testing to your iPhone camera roll. So, if you want to limit usage to yourself, you can upload videos or pictures you saved to your reels or stories immediately after testing. But people won’t be able to reuse it that way.
To make your AR effect reusable and more engaging, you’ll have to publish it to the Spark AR Hub; that’s the core value of Spark AR Studio.
In the following section, I’ll show you how to publish your effect to the Spark AR Hub.
5. Publish your AR effects to Spark AR Hub
After testing the effects on your iPhone, the next step is to publish it to the Spark AR Hub. Uploading your Instagram AR filter to the Spark AR Hub increases its visibility and engagement, as people can reuse it on their Instagram reels and stories.
To publish your AR effect to the Spark AR Hub:
- In Spark AR Studio, click Publish at the bottom left.
- Next, click Upload.
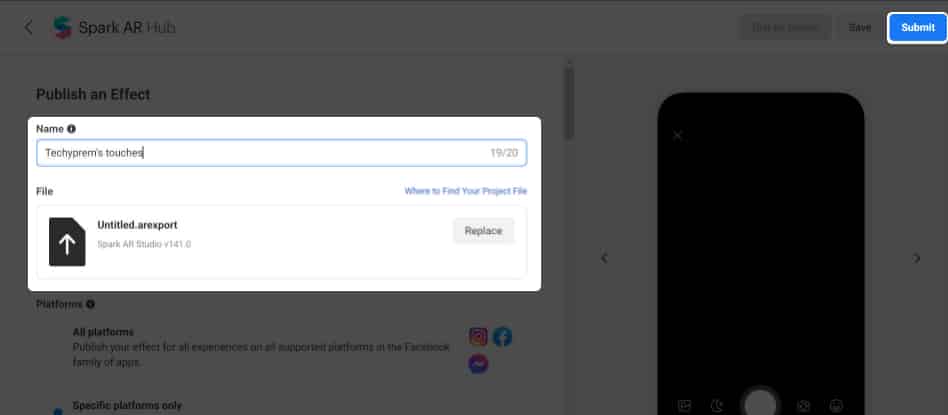
Spark AR Studio will open the Spark AR Hub in your browser. - Fill in all required fields and upload your effects.
- Now, click Submit at the top right.
- You’ll have to wait for Meta to review your effect; this may take up to five days in some cases.
Once your submission passes review on the Spark AR Hub, a filter tag will appear on your profile. The AR filter tag is beside the videos icon (denoted by the three stars) under your profile detail. You and other people can view your AR filters by going to your profile and tapping the filter tag (the three stars).
For other people to reuse your AR filter on their Instagram Reels, stories, or live videos, they only need to visit your profile, select the filter they want to use, and tap Try it. You can even become an AR filter vendor by creating several filters.
💡 Tip: Check out some of the best Instagram AR filters to see how brands and influencers have used them uniquely.
Mục lục bài viết
FAQs
Q. Can you make an Instagram AR filter without Spark AR Studio?
As of writing this article, Spark AR Studio is still the easiest way to make Instagram AR filters, as it’s codeless and offers easy integration with Instagram and Facebook via the Spark AR Hub. However, other AR experience frameworks, including Apple ARKit and Google ARCore, are available. But most of them are complex and require coding.
Q. Do you get paid for making Instagram filters?
Generally, you won’t get paid for making Instagram AR filters. But you can reach out to businesses and charge them for making an AR filter for their brands.
Q. How do I get Instagram filters on my iPhone?
Instagram offers many built-in filters. You can use them while making a video or picture for your reels or stories. But nothing beats custom AR filters.
To use built-in Instagram filters on the iPhone: Tap the + icon at the top-right → swipe over to STORY, REEL, or LIVE. Scroll across the filters next to the camera shutter. You can long-press a chosen filter to make a video or tap it for a picture.
The above tutorial is only a use-case of the Spark AR Studio. The app features a lot more, but no worries, you’ll improve with time. Also, feel free to explore your creativity. As you’ve seen, we were able to bring our design from Gimp into Spark AR Studio and publish it as a custom filter that anyone can reuse on their face.
However, you might also want to go through the tutorials and walkarounds on Spark’s Finding Your Way Around page. These will give you an overview of the app’s various features.
Do you have any questions or comments? Let me know in the comments section below.
Read more:


