
How to install Razer Synapse 3
Audio format available!
Click the play button to listen and follow the instructions.
Razer Synapse 3 is a unified cloud-based hardware configuration tool that takes your Razer devices to the next level:
- Customize Chroma lighting effects
- Rebind buttons
- Create and assign macros
- Automatically save all your profile settings to the cloud — or save up to four profiles via on-board storage
- Use voice controls with Amazon Alexa
You can view the video below for instructions or review a copy of the video transcript.
Below are the steps on how to install Razer Synapse 3.
Note: Razer Synapse 3 is only compatible with Windows 10 64-bit or Windows 11.
-
Go to Razer Synapse 3 download page and click “Download Now”.
-
Run the installer.
-
Select “RAZER SYNAPSE”.

-
Click “INSTALL” to begin the installation process. This will take a few minutes to complete.

-
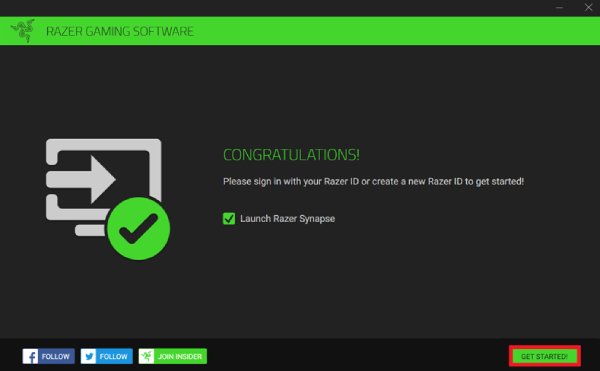
Toggle “Launch Razer Synapse” then click “GET STARTED”.
-
Sign in with your Razer ID to automatically sync your settings to the cloud.

See the answers below to learn more about Razer Synapse:


