
How to Install Pycharm on CentOS – javatpoint
Mục lục bài viết
How to Install PyCharm on CentOS
Introduction
PyCharm is an integrated development environment used for computer programming primarily for Python language. It is developed by JetBrains. PyCharm supports Windows, MacOS and Linux versions. The Beta version of PyCharm was released in July 2010. The Open Source version of Pycharm, Pycharm community edition was released on October 22, 2013. In this tutorial, we will install PyCharm on CentOS.
Prerequisites
- CentOS7
- Login as an administrator on the terminal
Installation
Installation includes following steps.
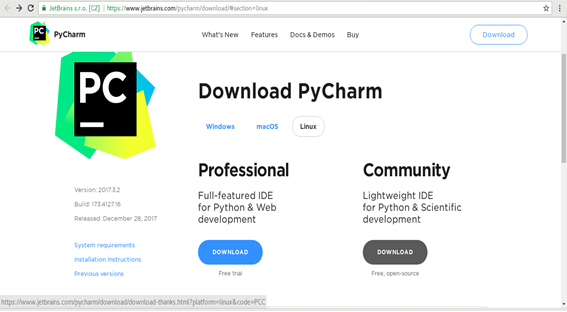
1) Download PyCharm Community edition
Click the link https://www.jetbrains.com/pycharm/download/download-thanks.html?platform=linux&code=PCC to download PyCharm Community edition.
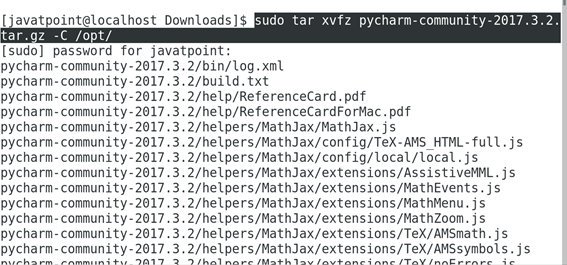
2) Extract the File
Use the following command to extract the file downloaded from the internet. This will be extracted inside /opt. Use the following command for this purpose:
3) Run Installer Script
In order to install PyCharm on CentOS, we need to run the installer script located inside /opt/pycharm-community-2017.3.2/bin/
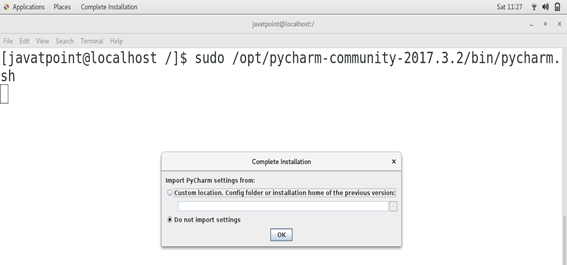
Import the settings required if any and click ok
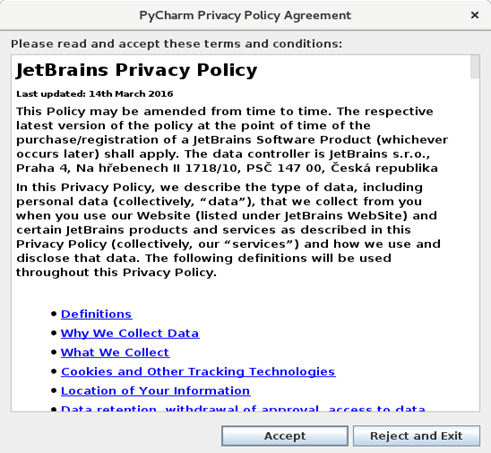
Click Accept to accept the privacy policy of the software which is necessary to install PyCharm on CentOS.
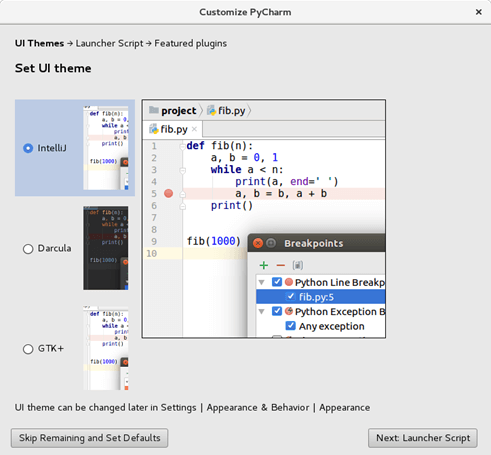
PyCharm provides various themes to work with. Choose any of the theme and click Next.
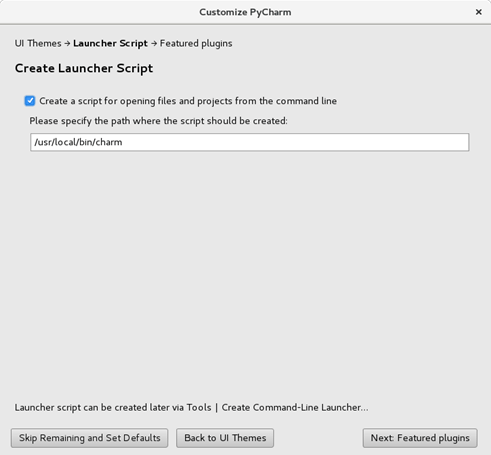
This step creates a launcher script which can be executed globally on the terminal in order to open Pycharm from command line. Just click Next to continue.
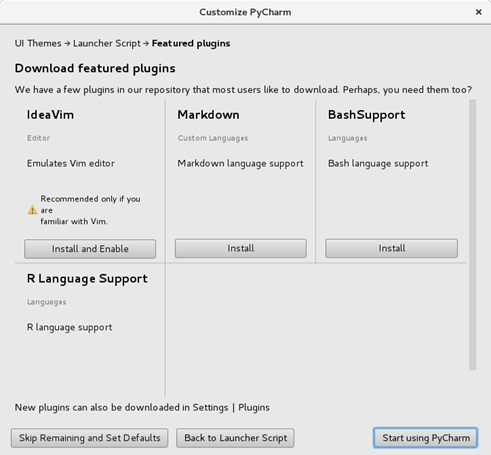
Choose if any of the plugins required to be installed and click on start using PyCharm.
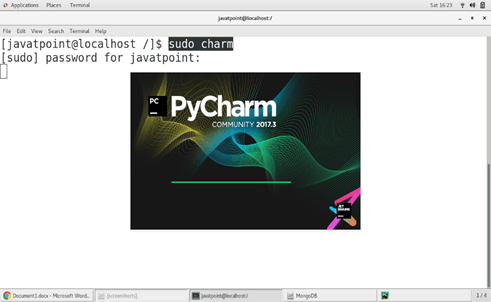
4) Verify PyCharm
Just type sudo charm on the terminal to verify whether PyCharm is globally installed on the system.
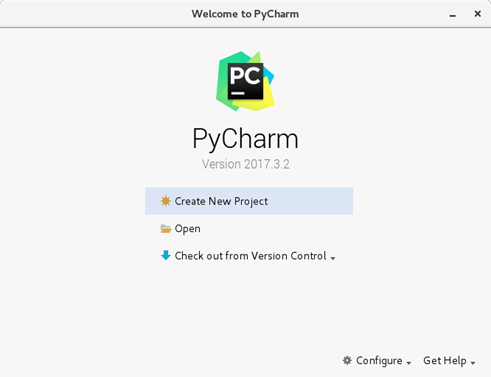
Click on Create New Project to start using PyCharm.
Hence, we have successfully installed and get started with PyCharm community edition on CentOS.
Next Topic
Install phpMyAdmin


