5 Best Alternatives to Rufus for macOS
Rufus is a free, open-source free software released under the GNU GPL 3+ License that helps users to format and create a bootable USB flash drive. A lot of Windows users opt to use Rufus; however, people using macOS are out of luck.
You cannot use Rufus for Mac unless you install Windows on your computer and install the software afterward. This is because the tool is designed solely for Windows XP/7/8/10 with a 32-bit or 64-bit operating system. While Rufus is not available for macOS and you might not be interested in going through the hassle of installing a secondary Windows system on your Mac computer, there are some great alternatives that offer similar functionality.
In this article, we’ll explore five of Rufus Mac’s alternatives. Furthermore, we’ll provide a brief overview of each program so that you can select the one that is suitable for your needs according to your system specifications.
Mục lục bài viết
Part 1. 5 Best Alternatives of Rufus to Create Bootable USB on Mac
Rufus is a perfect tool for creating bootable USB drives for Windows. However, as Rufus for macOS is not supported, you might be looking for an alternative to use on your Mac system.
Here are some of Rufus Mac’s alternatives we have chosen for you:
Tool
Price
Compatibility
Success Rate
Trust Pilot & G2 Ratings
Etcher
All features available for Free
Windows, macOS, Linux
85%
Trust Pilot: NA G2 Rating: 4.4 out of 5
DiskMaker X
All features available for Fre
macOS Catalina
95%
Trust Pilot: NA G2 Rating: NA
UNetbootin
All features available for Fre
Windows, macOS, Linux
90%
Trust Pilot: NA G2 Rating: NA
UUBytes ISO Editor
Comes with a free trial. Cost $29.95
Windows 10, macOS Big Sur
80%
Trust Pilot: 4.2 out of 5 G2 Rating: 4.0 out of 5
Install Disk Creator
All features available for Fre
macOS
80%
Trust Pilot: NA G2 Rating: NA
Etcher
Etcher is a free and open-source tool that makes it easy for you to create bootable USB drives from ISO files and is supported by Windows, Mac, and Linux operating systems.
Note: ISO files are a type of disk image that can be used to create a bootable USB drive.
Creating a bootable USB drive with Etcher is simple. First, you need to download the Etcher tool and install it on your computer. Once Etcher is installed, open it and select the ISO file you want to use to create the bootable USB drive. Select the USB drive and click the “Flash!” button. Etcher will then start creating the bootable USB drive.
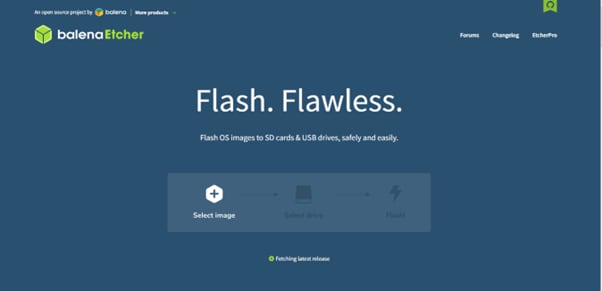
Etcher works with USB as well as SD cards and comes with an image validation feature, which means it won’t write the image on a corrupted SD card/USB. Also, this tool works on the latest versions of BigSur and macOS Monetary. However, it is unable to choose between MBR and GBR partition styles.
DiskMaker X
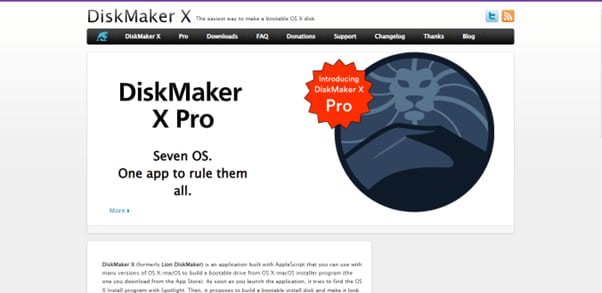
DiskMaker X is a popular tool built with AppleScript and can be used for creating bootable USB drives for Mac computers. The program is simple and quick to use and can be installed in various versions of OS X/Mac OS.
Once installed, DiskMaker X will automatically detect the OS X installation file as well as the USB attached to your Mac computer or laptop. From there, it will automatically flash the system image.
DiskMaker X is a great alternative to Rufus and can transform any USB drive, SD card, Thunderbolt drive, or an external Firewall into a bootable drive. Whether you’re installing macOS for the first time or need to troubleshoot a problem, DiskMaker X can help but it is not compatible with the latest macOS such as Big Sur and Monterey.
If you want to know more about DiskMaker X, you can read the article A Detailed Guide on Using DiskMaker to Create Bootable macOS USB. We have provided the specific introduction for DisMaker X and more details there.
UNetbootin
Initially designed for Linux-based boot drives, UNetbootin or Universal Netboot Installer is an excellent Rufus alternative with a cross-platform utility that you can use for other operating systems, such as creating Windows and Mac bootable USB drives.
To use UNetbootin, simply download the program and run it. Select the ISO file you wish to use and the target drive you want to use. Click “OK,” and UNetbootin will create your Mac bootable USB drive.
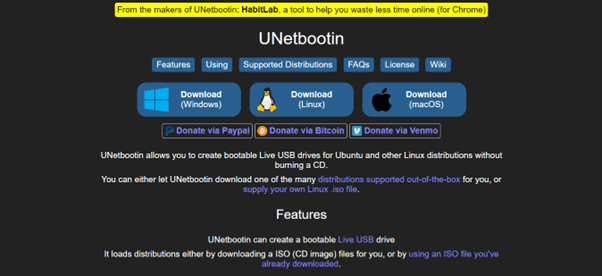
UNetbootin supports various distributions, including Fedora, PCLinuxOS, Linux Mint, Debian, Parted Magic, Frugalware, openSUSE, FreeBSD, ArchLinux, NetBSD, Ubuntu, and CentOS. However, this tool has no SD card or UEFI support along with the inability to use multiple booting images on a single hard drive.
If you hope to use UNetbootin to create a bootable Mac USB successfully, please go to the article on the guide to use UNetbootin on Mac.
UUByte ISO Editor
UUByte ISO Editor is another great alternative to the Rufus tool while creating bootable ISO images from your Mac OSX installation disk or any other disk image file. You can also create an ISO archive from external files or folders.
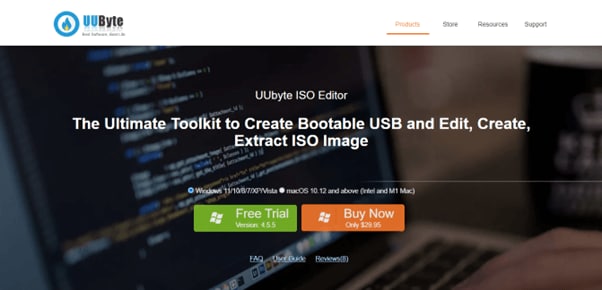
This software is user-friendly and comes with value-added features that support all popular Mac ISO formats to create the images from scratch. You can also add or extract files from an ISO image. The only drawback is that you need to manually download the ISO files on your Mac for image creation.
Install Disk Creator
Install Disk Creator is a free and lightweight disk image creation tool for the macOS platform that enables you to transform other media into a macOS bootable installer or create a bootable USB. The tool is especially useful for users who want to quickly perform a clean install or reinstall on multiple Mac computers.
To use the Install Disk Creator, download and install the program on your Mac system. Ensure you are connected to a stable internet connection. Insert a USB flash drive with a minimum of 8GB of storage and launch the application.
Select the current OS on your Mac, click “Return,” and type in the administrator user password. The Install Disk Creator tool will begin creating a Mac bootable USB.
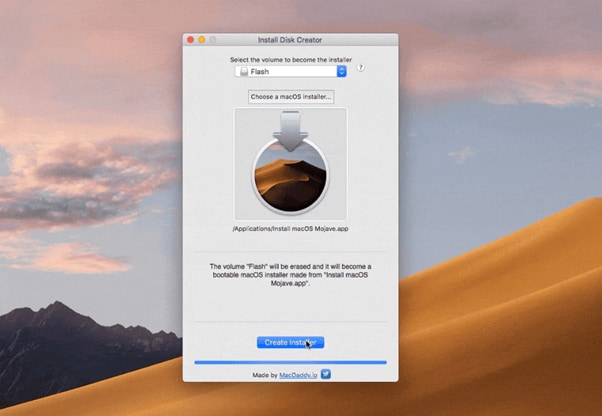
However, the Install Disk Creator tool does not include an indicator to show the time left or the percentage of the completion process while creating a bootable USB.
If you are interested in this tool and hope to get more information, you can go to our article about it: How to Use Install Disk Creator to Create a Bootable USB on macOS.
Or you also can watch this video to get more information about the best alternatives to Rufus.
Part 2. Another option to recover data from unbootable Mac: Recoverit
Above are the five good utility tools we have specially chosen for you. We hope you can find a satisfying solution to help you out. However, if the above-mentioned Rufus alternative tools cannot rescue your unbootable data, please don’t worry. There is a powerful tool to recover your date from the crashed computer – Recoverit.
Recoverit is a professional data recovery tool that can run smoothly on your Mac and recover your data lost under different situations, including an unbootable Mac.
To use Recoverit, please do the following steps in sequence:
Requirements of Using Recoverit:
- A formatted or blank USB drive with at least 16 – 32 GB of storage space.
- Recoverit Software.
- A working Windows PC or Mac computer.
The Step-by-step Guidance:
Follow the instructions below step-by-step to retrieve your data from your unbootable or crashed Mac using the Recoverit software.
Free Download
For Windows XP/Vista/7/8/10/11
Free Download
For macOS X 10.10 – macOS 13
Step 1: On your other Windows 10, 11 PC, or Mac computer, download and install the Recoverit software. Afterward, launch the app and plug in the USB flash drive.
From the left-hand side menu of the software dashboard, head to “System Crashed Computer” and click “Start” to begin the recovery process. Choose the USB drive name and click the “Start” option to initiate the USB formatting process.
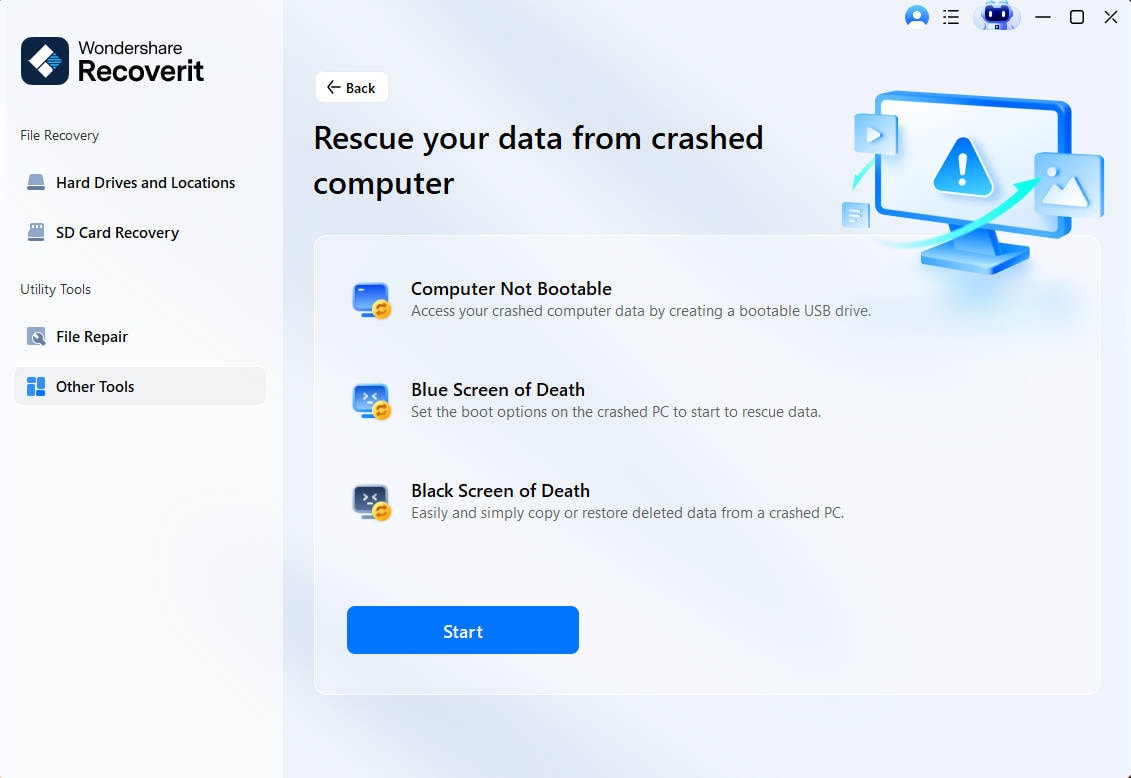
A warning message will appear for formatting the USB drive. Click the “Format” option to let Recoverit create a bootable USB.

Step 2: Plugin the bootable USB drive into the affected Mac’s USB port. Press the Power button and Option key simultaneously and select the Wondershare Recoverit Bootable Media Drive when appears on the screen.
Step 3: Take an external hard drive and connect it to your unbootable Mac system. Afterward, select a copy of your data files in the Wondershare Recoverit Bootable Drive Window and choose the external hard drive as the destination. Click the “Start Copy” button to begin copying your data from Mac to the drive.
Wait until the data copying process is finished and you will successfully get your data back.
Conclusion
In this article, we’ve discussed why Rufus for Mac bootable USB is not an option for macOS users. We’ve also discussed five Rufus’s Mac alternatives to create a bootable USB quickly. We’ve elucidated the pros and cons of each tool to help you decide which program best meets your needs.
Hopefully, you find this guide helpful, and you can now decide which tool you are going to use to create a bootable USB drive for your Mac system.


