
Client-side Image Previews With JavaScript
Part of building a great user experience for users is allowing them to see the impact of their actions.
When it comes to uploading images, one technique you can use to improve the UX of your applications is to preview the file before committing to the expensive operation of transmitting the file across the internet.
In this short post,
we’ll look at how you can use a few lines of JavaScript to process the contents of a file input on the client.
The result of the processing will be used to update an existing img tag to display the image.
Mục lục bài viết
The File Input and The Image
You’ll need to start with an HTML input element of type file.
In this case, we also want to use some input filtering to make sure that users can only select image files.
We can use the accept attribute with a value of image/* to filter possible choices in the user’s native file picker.
<input
type=
"file"
name=
"image"
class=
"form-control"
accept=
"image/*"
/>
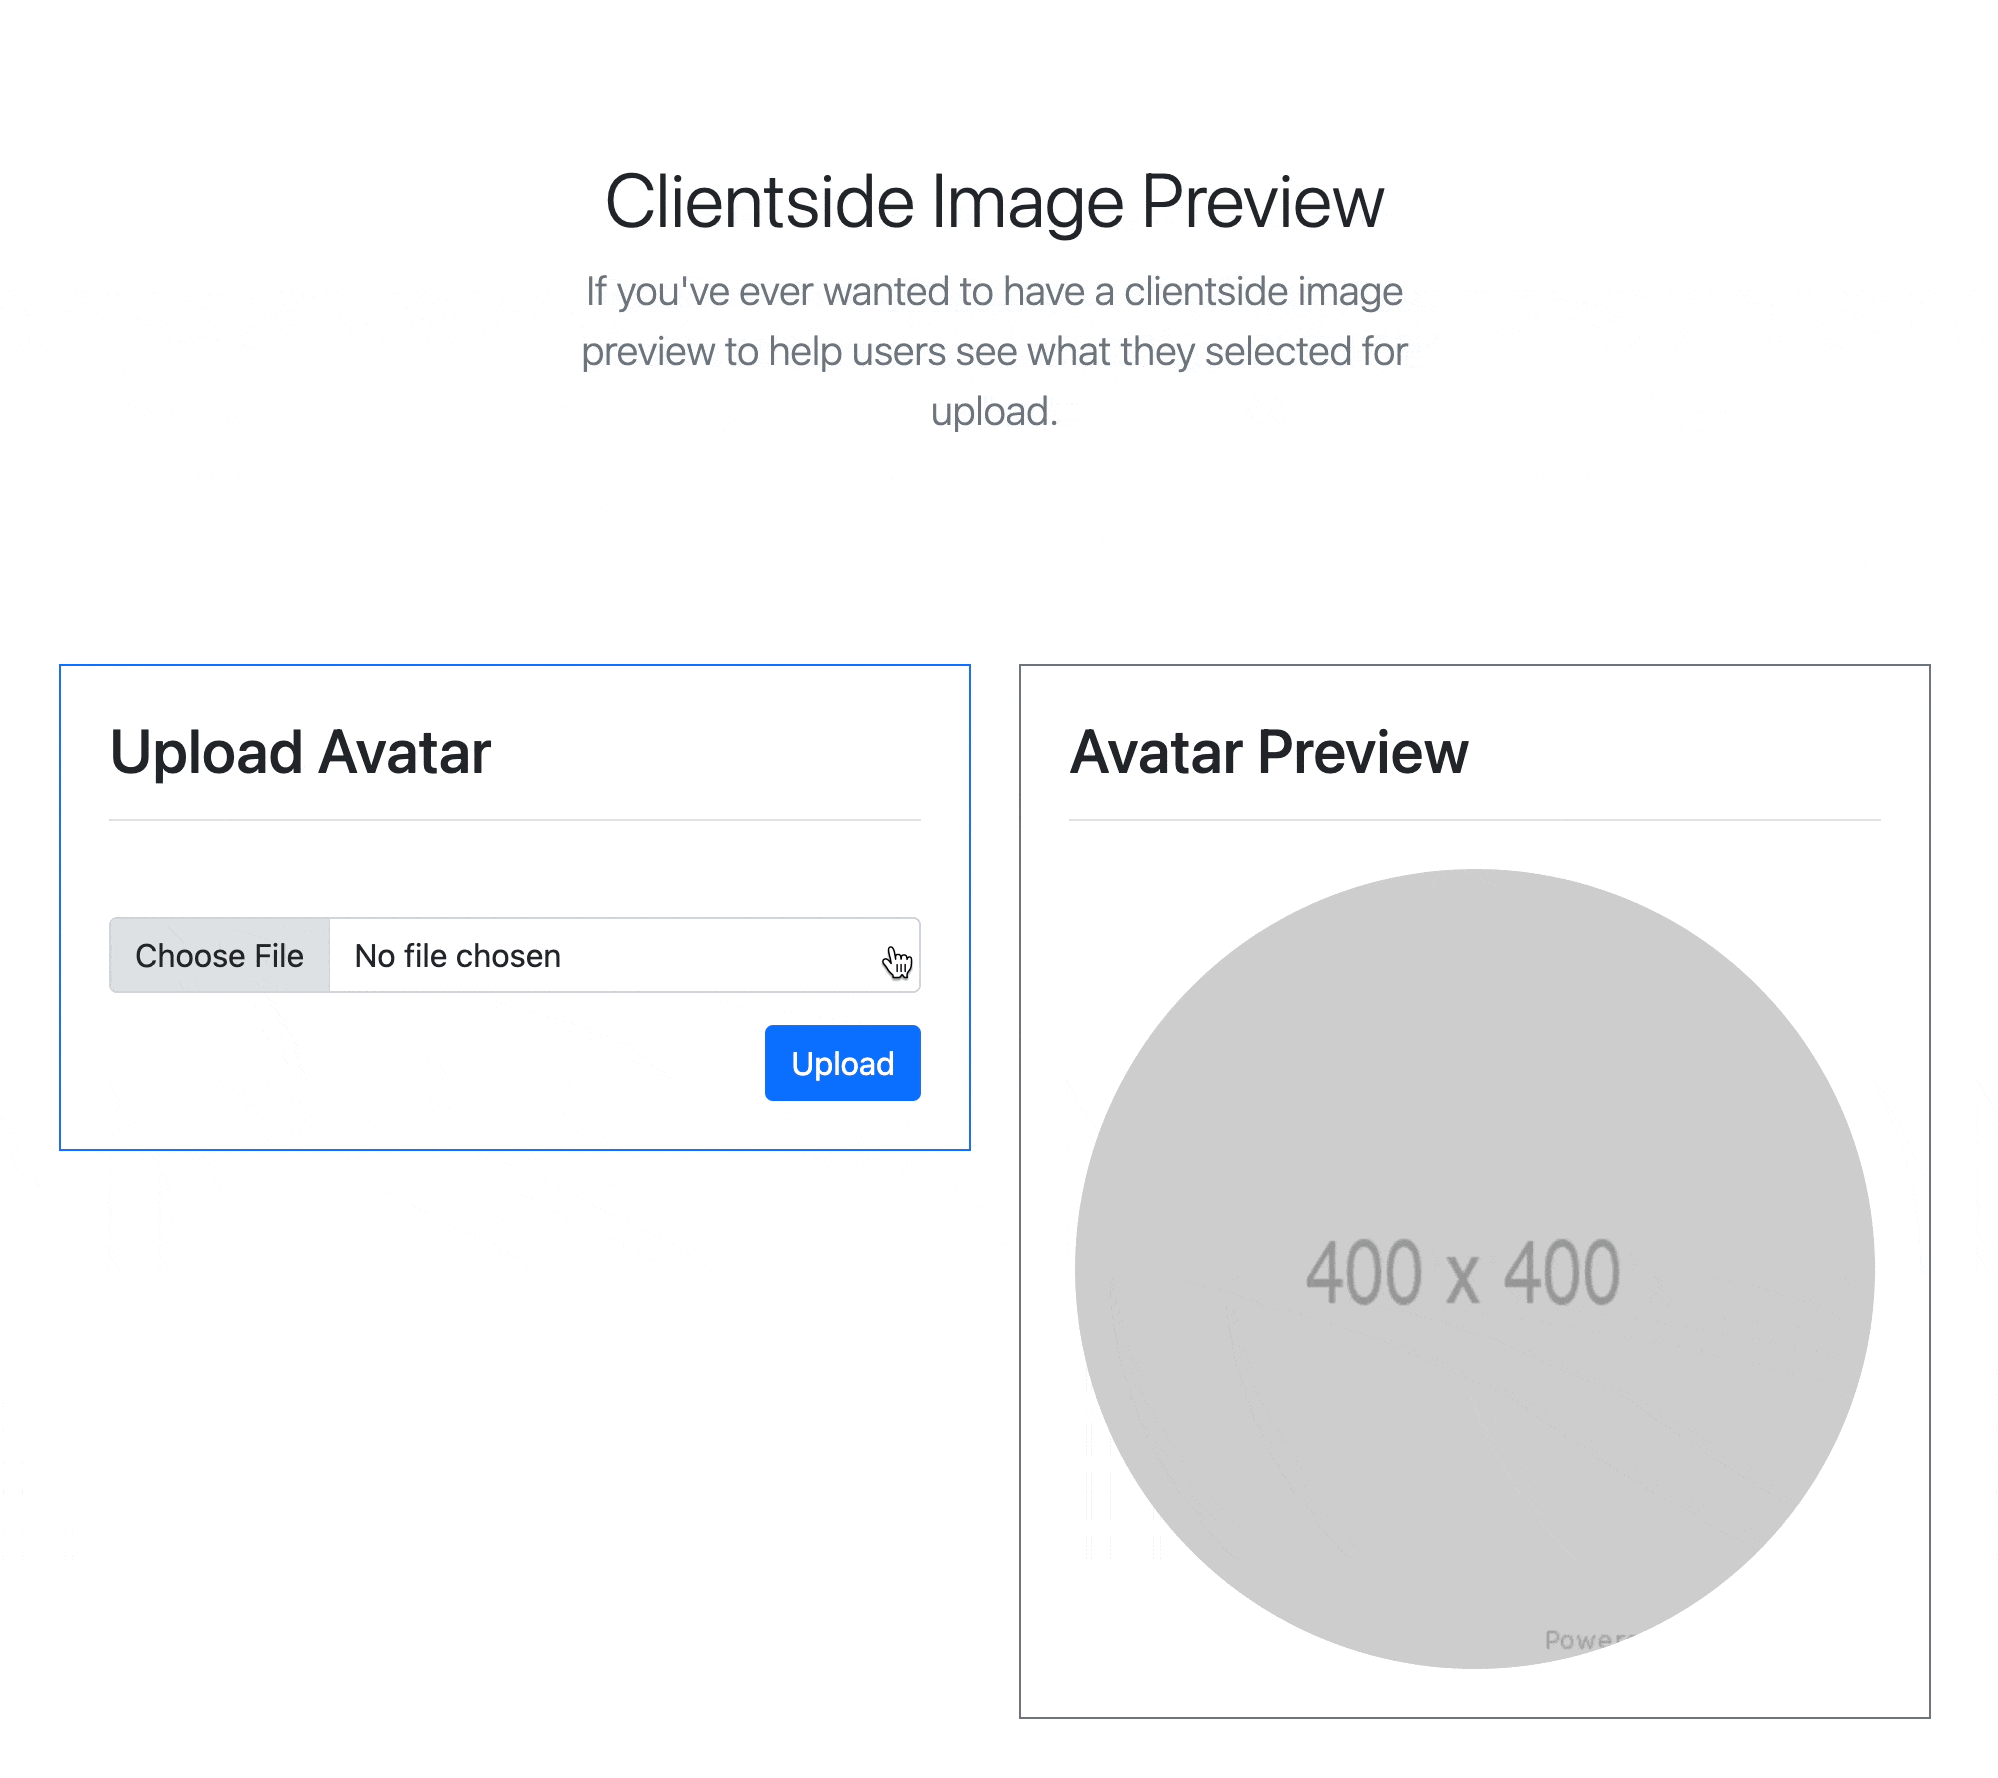
Great! Now that you have the file input, you’ll need a target img tag, which will render the preview image.
I’m using a placeholder image to make sure the initial page load renders something to our users.
<img
id=
"image-preview"
src=
"https://via.placeholder.com/400"
style=
"width:400px"
class=
"rounded rounded-circle"
alt=
"placeholder"
>
With a bit of Bootstrap styling, you can have a UI that looks something like the following.

Now, let’s move on to the JavaScript.
FileReader and JavaScript Solution
If you’re familiar with HTML at all, you’ll know that many HTML elements have events that you can subscribe to.
In the case of this post, we want to use the onchange event of the file input.
You’ll also want to pass in a reference to the input element itself, and the target img element.
Let’s take a look at the input element after wiring up the onchange event.
<input
type=
"file"
name=
"image"
class=
"form-control"
accept=
"image/*"
onchange=
"updatePreview(this, 'image-preview')"
>
You’ll notice a updatePreview JavaScript method in the onchange attribute of our input element.
The parameters for the method include the this keyword,
which applies to the element itself, and the identifier of our image, image-preview.
Let’s take a look at the implementation of the updatePreview function.
function
updatePreview
(
input
,
target
)
{
let
file
=
input
.
files
[
0
];
let
reader
=
new
FileReader
();
reader
.
readAsDataURL
(
file
);
reader
.
onload
=
function
()
{
let
img
=
document
.
getElementById
(
target
);
// can also use "this.result"
img
.
src
=
reader
.
result
;
}
}
The most important item in the JavaScript function is the FieldReader type,
which allows you to convert the bytes of the input element into a data url.
You can use the data url as the value of src for our target img element.
When you wire up all the elements, you get a responsive client-side user preview.
The FileReader type can be used
to read all kinds of files and extract information before sending the file to the server.
You can read text files, images, video files, and more.
For folks interested in seeing the complete HTML for the solution, here it is.
<!DOCTYPE html>
<html
lang=
"en"
>
<head>
<meta
charset=
"UTF-8"
>
<title>
Title</title>
<link
rel=
"stylesheet"
href=
"https://cdn.jsdelivr.net/npm/[email protected]/dist/css/bootstrap.min.css"
>
</head>
<body>
<section
class=
"py-5 text-center container"
>
<div
class=
"row py-lg-5 bg-light"
>
<div
class=
"col-lg-6 col-md-8 mx-auto"
>
<h1
class=
"fw-light"
>
Clientside Image Preview</h1>
<p
class=
"lead text-muted"
>
If you've ever wanted to have a clientside image preview
to help users see what they selected for upload.
</p>
</div>
</div>
</section>
<div
class=
"container"
>
<div
class=
"row"
>
<div
class=
"col"
>
<div
class=
"p-4 border border-primary"
>
<h2
class=
"mb-5 border-bottom pb-3"
>
Upload Avatar</h2>
<form>
<input
type=
"file"
name=
"image"
class=
"form-control"
accept=
"image/*"
onchange=
"updatePreview(this, 'image-preview')"
>
<div
class=
"text-end"
>
<button
class=
"btn btn-primary mt-3 "
>
Upload</button>
</div>
</form>
</div>
</div>
<div
class=
"col"
>
<div
class=
"p-4 border border-secondary"
>
<h2
class=
"border-bottom pb-3 mb-4"
>
Avatar Preview</h2>
<div
class=
"text-center"
>
<img
id=
"image-preview"
src=
"https://via.placeholder.com/400"
style=
"width:400px"
class=
"rounded rounded-circle"
alt=
"placeholder"
>
</div>
</div>
</div>
</div>
</div>
<script
src=
"https://cdn.jsdelivr.net/npm/[email protected]/dist/js/bootstrap.min.js"
></script>
<script
type=
"text/javascript"
>
function
updatePreview
(
input
,
target
)
{
let
file
=
input
.
files
[
0
];
let
reader
=
new
FileReader
();
reader
.
readAsDataURL
(
file
);
reader
.
onload
=
function
()
{
let
img
=
document
.
getElementById
(
target
);
// can also use "this.result"
img
.
src
=
reader
.
result
;
}
}
</script>
</body>
</html>
Conclusion
With a tiny bit of HTML and client-side JavaScript, you can create a better user experience for your users.
I hope you enjoyed this short post, and if you found it helpful, please share it with your friends and coworkers.


