
How To Verify Google Search Console In WordPress
Updated: February 24, 2023.
In this quick tutorial, I will show you how to verify Google Search Console using WordPress in 3 simple ways.

Google Search Console is undoubtedly the number one SEO tool that every website owner should use to monitor the performance of their websites.
There are a few verification methods in GSC but all require access to server files (HTML file upload, HTML tag, or a DNS record). But what if you don’t have access to the server?
Fortunately, in the case of WordPress, it is possible to verify Google Search Console via the WordPress panel.
Let me show you how to do it.
What you need to verify a site in Google Search Console
There are two things you need in order to verify Google Search Console for a WordPress website: administrator role and verification code.
Administrator role in WordPress
There are 5 types of user roles in WordPress. They are subscriber, contributor, author, editor, and administrator.
❗ To be able to verify GSC in WordPress, you need to have the administrator user role because only administrators can modify WordPress files, plugins, etc. Make sure you are one!
Verification code
Another thing you need to complete the process is, obviously, the verification code. Here is how to get your verification code:
1. Log in to Google Search Console.
2. Click on the arrow next to the currently selected property.
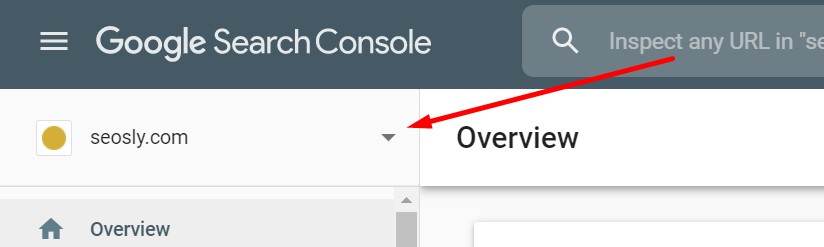
If you have any properties in your GSC account, you will see the currently displayed property there. If you don’t have any properties in your GSC account, you will only see the Add property option.
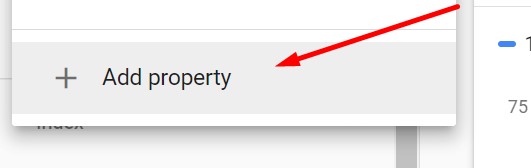
3. Click on Add property.
4. Choose URL prefix.
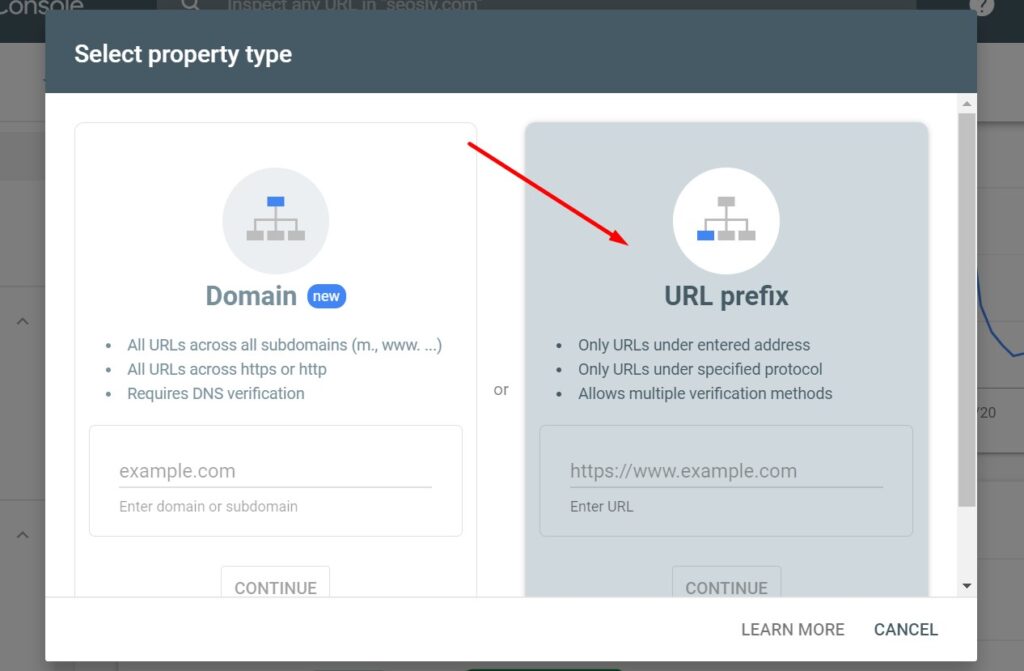
☝️ Note that you cannot verify a Domain property via WordPress. You can only verify a URL-prefix property. You can learn more about the types of website properties in GSC here.
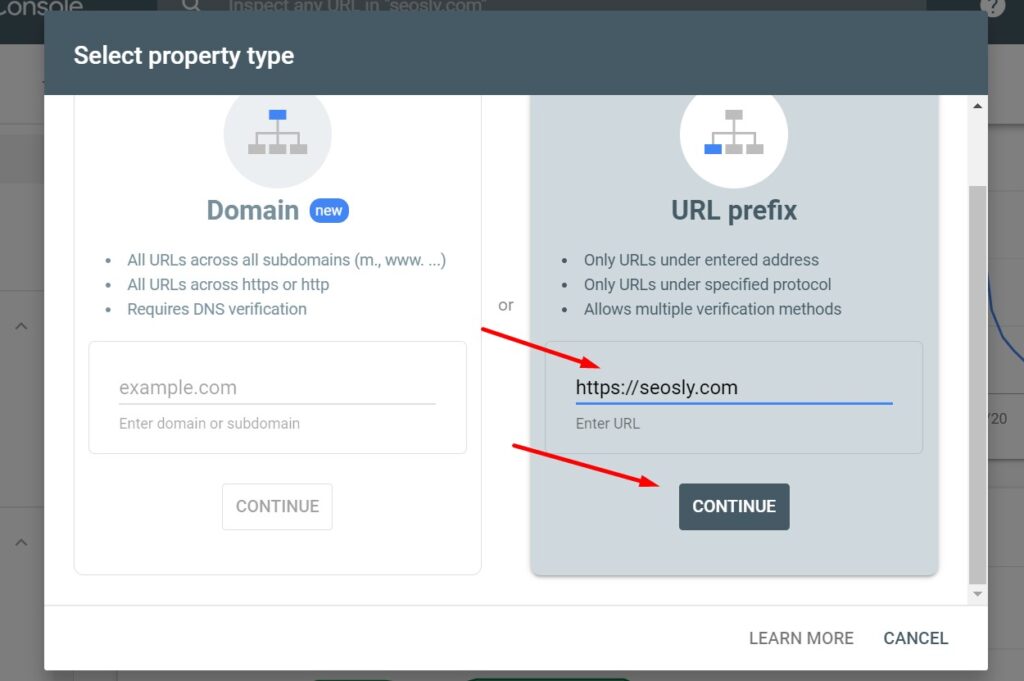
5. Enter the URL together with the prefix and click CONTINUE. Make sure you are entering a canonical address unless you want to specifically track a specific URL prefix like HTTP.
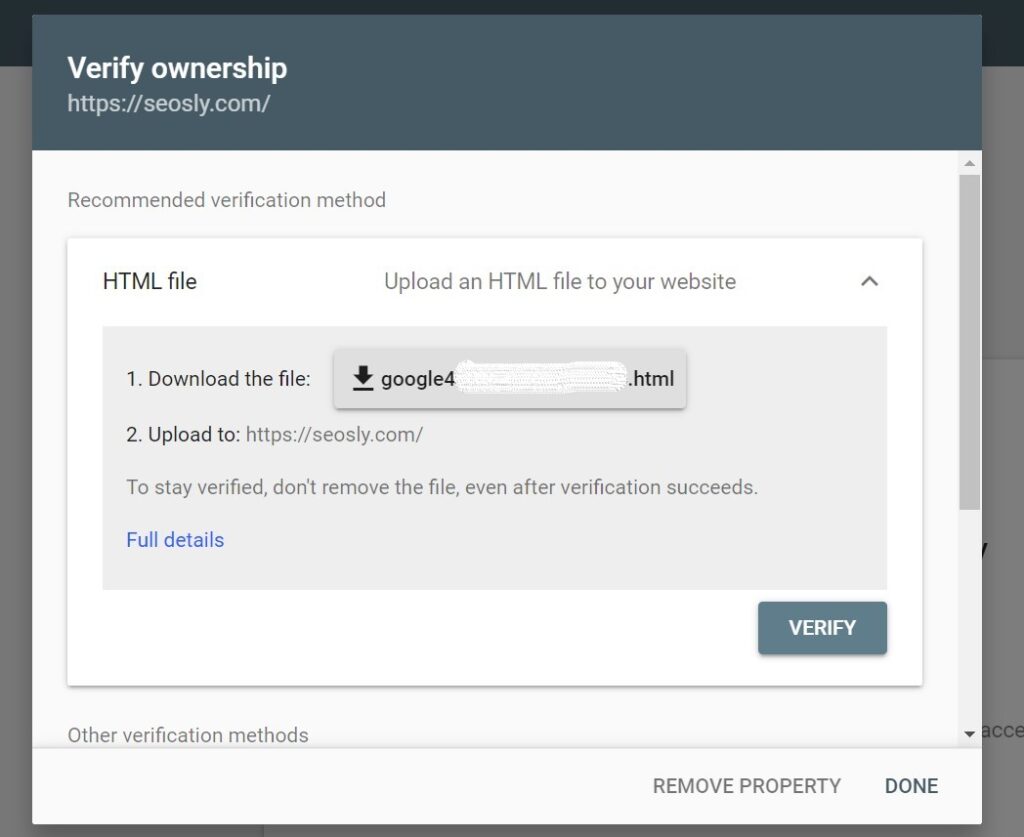
6. The recommended verification method (HTML file) will be displayed.
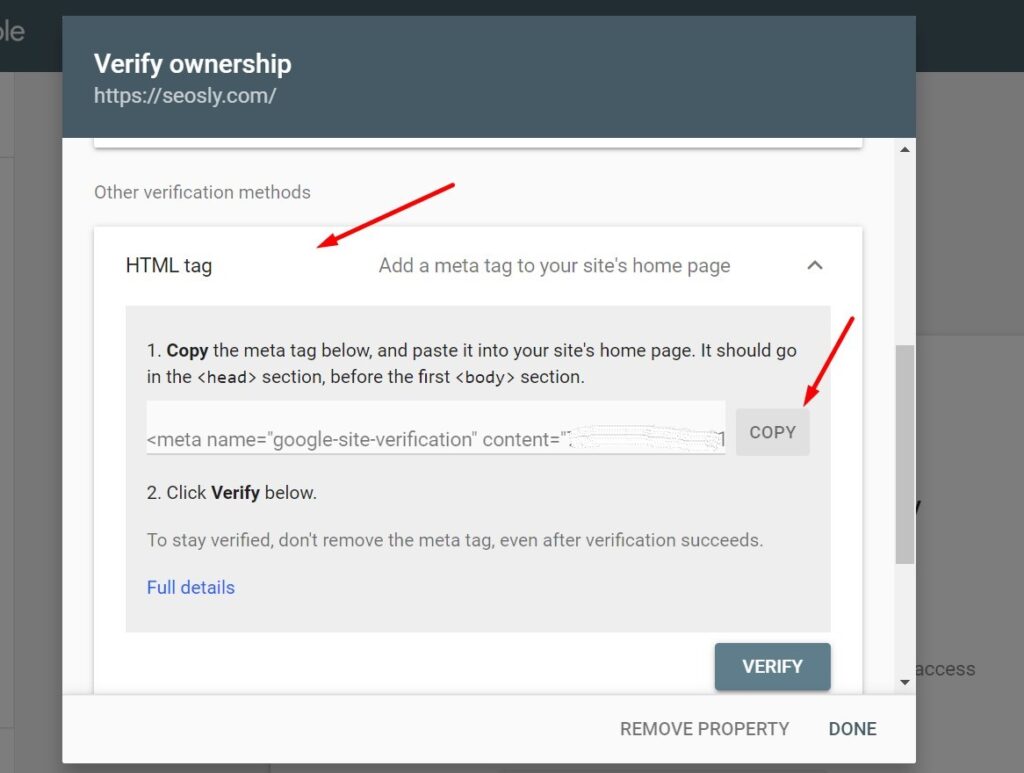
7. Scroll down and choose the HTML tag verification method. Click COPY to copy the HTML tag.
7. Now you need to paste this code into the right place. You can do it in one of the 3 ways shown below. Don’t close this tab in your browser.
Use an SEO plugin (recommended)
There are practically only two serious players in the WordPress SEO plugin arena. This is Rank Math and Yoast SEO. The chances are you are using either one of them.
Both let you verify your Google Search Console account and other webmaster tools (like the ones from Bing, Baidu, or Yandex). Let’s go through the process with each one.
Rank Math
Here is what to do if you are using Rank Math (and you should be):
1. Log in to WordPress as an administrator.
2. Navigate to Rank Math.
![]()
3. Click on General Settings and on Webmaster Tools. As you can see this is the place where you can enter verification codes of different webmaster tools, including Google Search Console.
![]()
![]()
4. Paste the verification code into the field next to the Google Search Console.
![]()
5. Scroll down and click Save Changes.
![]()
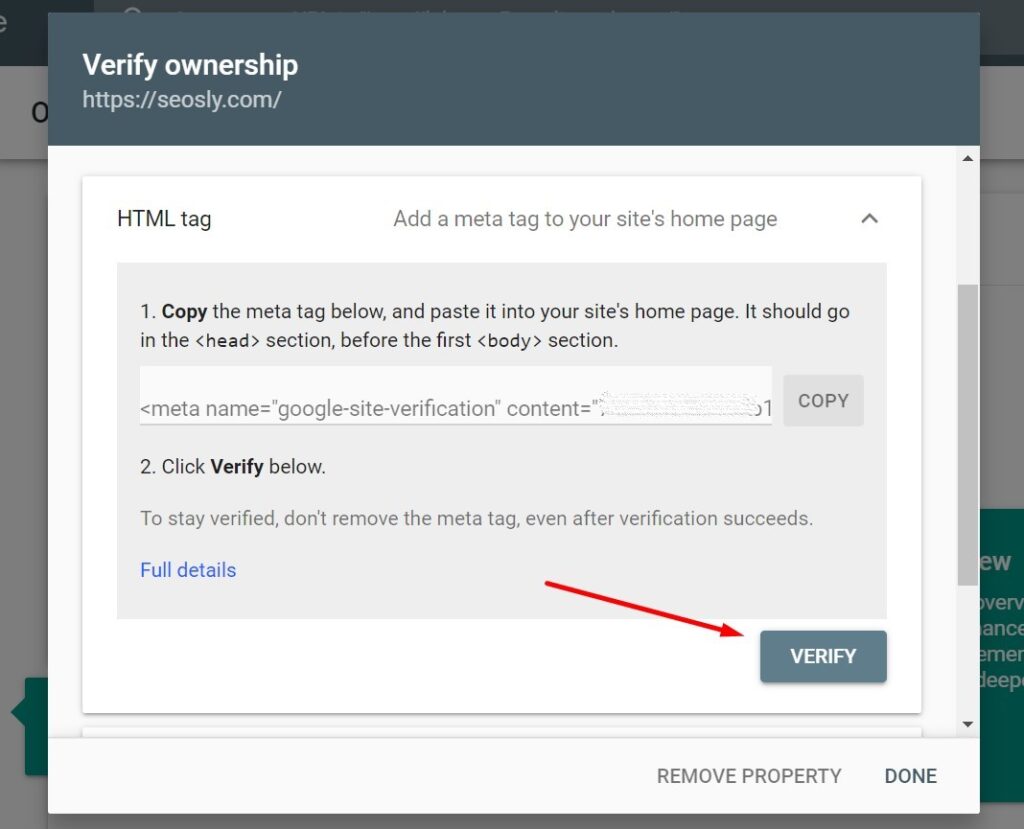
6. Get back to Google Search Console and click VERIFY under the HTML tag.
7. You should see a green notification box informing you that the verification process has been successful.
![]()
You are all set up!
Yoast SEO
And here is what you need to do if you are using Yoast SEO:
1. Log in to WordPress as an administrator.
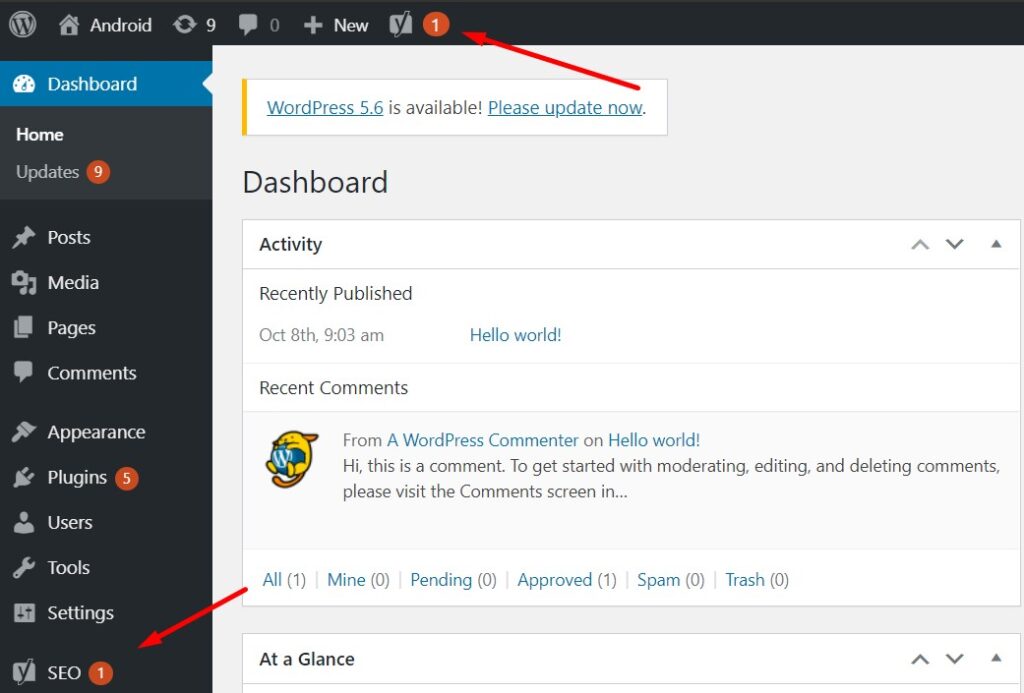
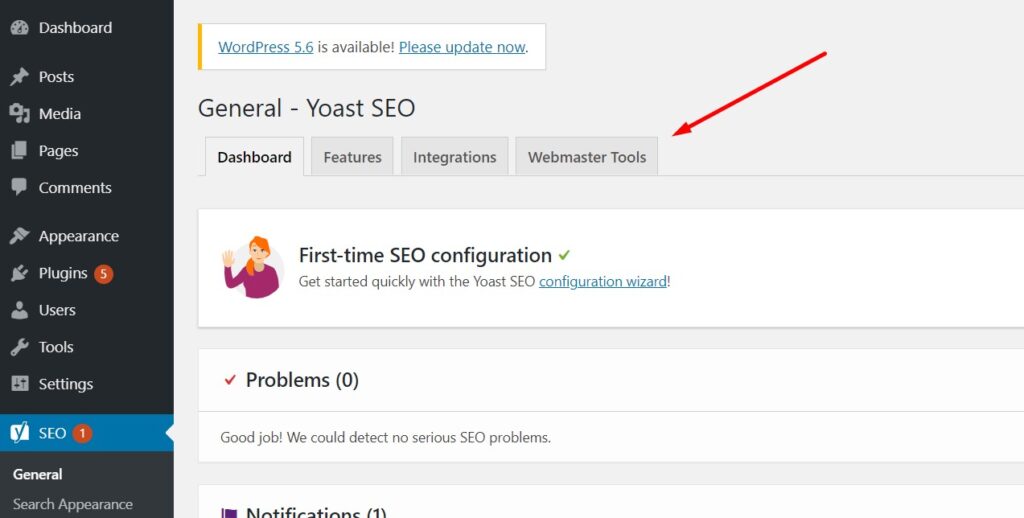
2. Navigate to SEO (in the left side panel or in the top bar).
3. Click Webmaster Tools.
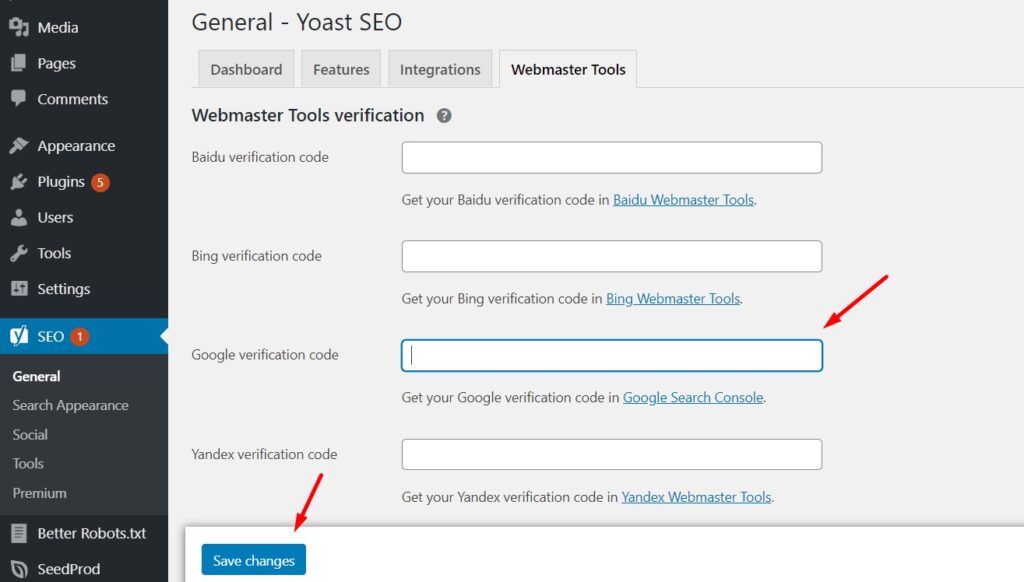
4. Paste the code into the Google verification code field and click Save changes.
5. Return to Google Search Console and click VERIFY under HTML tag.

6. You should see the green notification informing that ownership has been verified.
You are all set up.
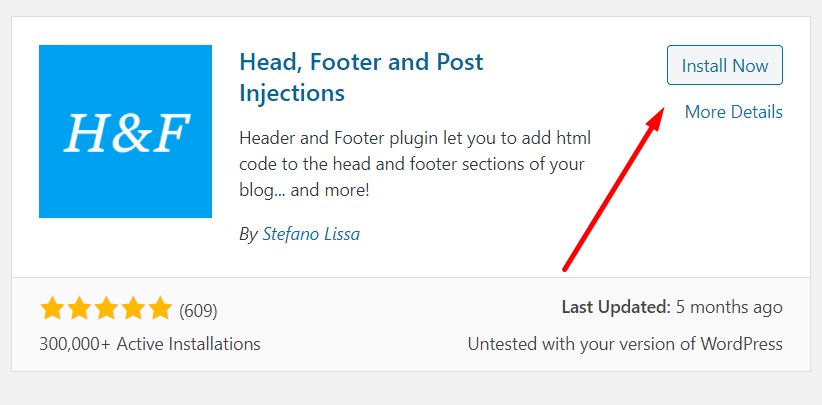
There is also a very useful plugin Head, Footer and Post Injections that will let you to add the HTML verification tag to your website.
Here is what you need to do:
1. Install Header and Footer. You can find the plugin by simply typing “Header and Footer” in the plugin search box in WordPress.
☝️ There are also other plugins that have the same functionality. Feel free to use any plugin you trust but don’t use multiple ones at the same time.
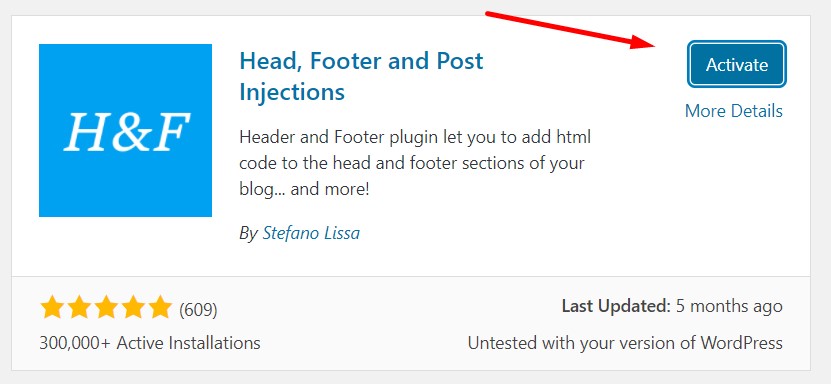
2. Click Install Now and then Activate.
3. Navigate to Settings and click Header and Footer.
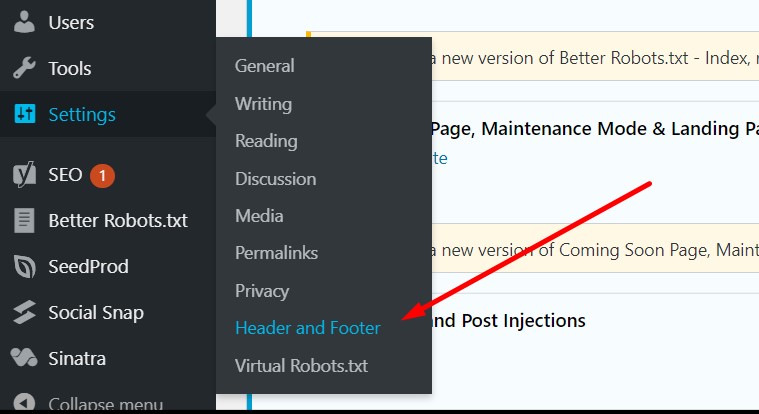
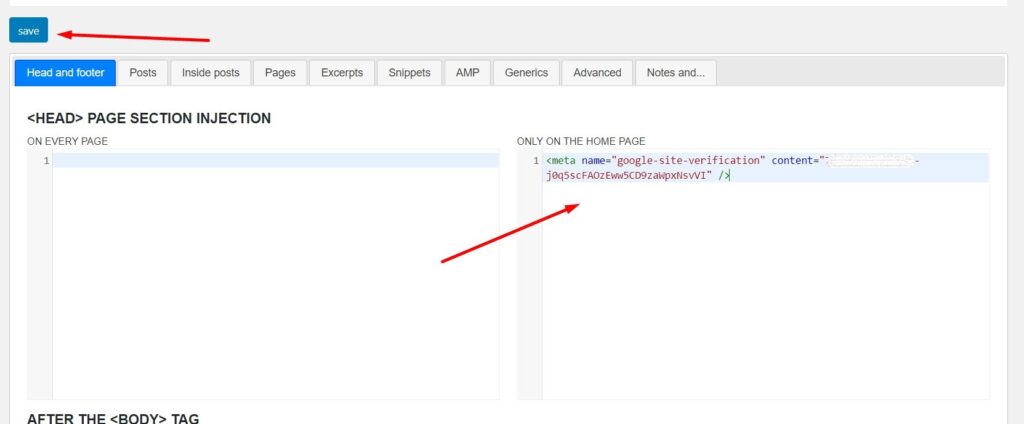
4. Paste the verification code in the box under ONLY ON THE HOME PAGE. Click Save.
6. Go back to Google Search Console and hit VERIFY under the HTML tag verification method.

7. You should see the success message like the one below.
![]()
You are all set up!
If you like this tutorial, the chances are you will be interested in my other tutorials on Google Search Console and similar topics:


