
How to Apply Digital Camera Recorder to Record Videos
by Christine Smith • 2022-11-08 15:24:25 • Proven solutions
Did you get yourself a new digital camera recorder in hopes of using it for starting up a vlog or a streaming channel? Or, maybe, you’re the type to make home movies to store precious memories of family and friends? Whatever your reason for purchasing a digital camera recorder might be, continue reading to learn how to use it, the benefits of using a digital camera recorder, and a great way you can convert your recorded footage to make the most of it.
Mục lục bài viết
Part 1. How to Use Digital Camera Recorders to Record Videos
Digital Camera Recorders come in all shapes and sizes. In most cases, the quality of the recorded footage from a digital camera is dependent on the device itself. However, there are a couple of things that you can do to boost up your video recording experience — especially if you’re looking to make some high-quality videos to upload online.
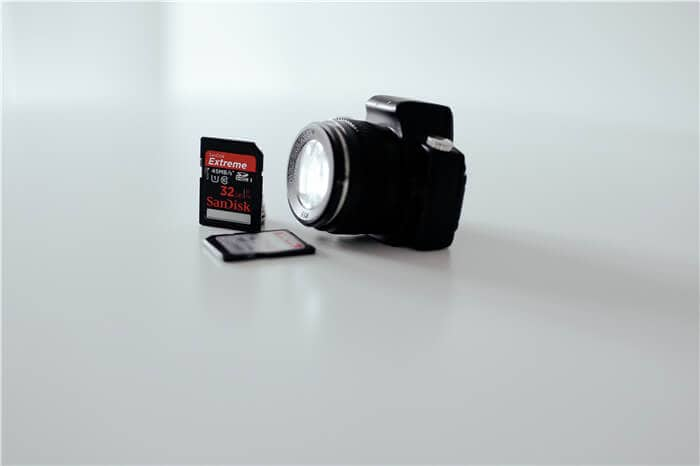
Step 1. Prepare your digital camera.
If you’re an absolute beginner when it comes to digital camera recording, then the best thing to do is to make sure that you have all your accessories prepared even before you go recording your videos. Here’s a small checklist of things to do:
● Charge your camera.
● Make sure you have memory space.
● Check that all your accessories and lenses are in order.
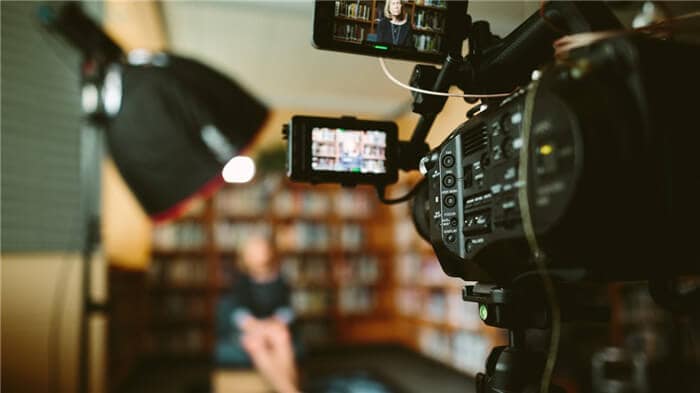
Step 2. Set the scene.
Once you have all your tools set up, it’s time to set the scene. If you’re anticipating recording for a longer time, you might want to set up some tripod to hold up your camera. Other things to set up before recording include:
● Lighting: Make sure that your light is on point.
● Sounds: Is there ambient sound in the space you are recording in? Then, maybe it’s not the best place to record. If audio is important to you, pick somewhere better.
● Props: If you have any props you’re planning to use, now is the time to place them where you can access them better (make sure it’s outside of the shot.)
● Angle: How you point your camera is also essential when it comes to quality video recording. Things look better at certain angles, so experiment if you must.
Step 3. Convert your digital camera recording.
Once you’re done recording your video, you can now transfer it to your computer for conversion. Most digital camera recorders export videos in a particular format (usually DV, HDV, MPEG-2, AVCHD, H. 264, MPEG4, etc.) And, unfortunately, not all of these formats are immediately publishable.
So, use a converting tool to correct this issue. The one that we’d recommend is the Wondershare UniConverter.
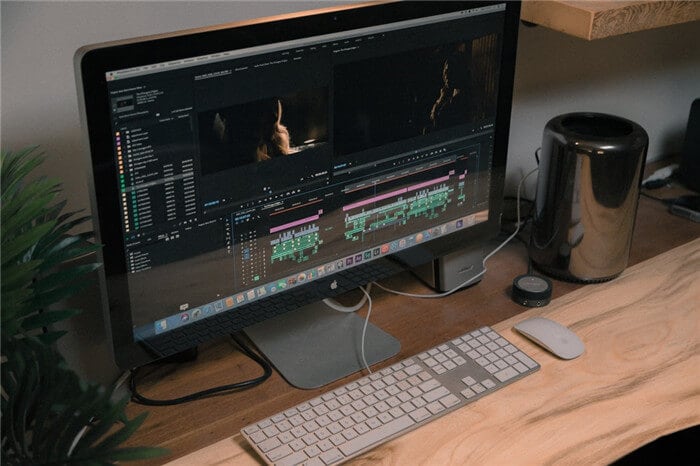
Step 4. Edit your videos.
Once you have your digital camera recording converted, you can begin editing. There are various tools that you can use for this purpose, so feel free to explore your options. The Wondershare UniConverter we mentioned previously also has functions for basic video editing.
Step 5. Upload your video recording.
If you aim to get your video uploaded on your social networks, then now is the time to do it. You’re all set to enter the world of digital influencers.

Part 2. Benefits of Using Digital Camera Recorder
Using a digital camera recorder removes a lot of the issues people face when using their own laptop’s web camera — or, even, their smartphone’s phone camera. Quality is a large part of the problem, but it’s not all of it. So, if you want to know all the different benefits of using a digital camera to record your videos, then you’ll want to read the following details.
● Camcorder Lenses: Unlike your laptop’s web camera or your smartphone’s camera, most digital cameras available in the market have at least a 10x zoom lens — which will allow you to zoom infinitely more while retaining the same video quality.
● Image Stabilization: As on-the-go recording solutions, a lot of digital camera recorders also have image stabilization support — which is also helpful in retaining video quality.
● Microphones: Another issue with most webcams is the fact that you’ll have to resort to using your laptop or desktop’s microphone — which is usually not all that good. With digital camcorders, you can rest easy knowing that a lot of them were designed for enhancing voice quality and nullifying ambient sounds.
● Recording Settings: Another fun, and helpful feature is the fact that you’ll be able to control the image quality of your recording with a digital camera recorder by playing with its light/effect settings (most camcorders at least offer a night mode for recording during the evening and brightness adjustment settings.).
● Storage: One of our personal favorite features of a digital camera recorder is that you can purchase small memory cards up to 128GB (or more) to carry large amounts of HD videos — perfect for recording long-form content.
Part 3. How to Convert Digital Camera Recordings on Your Computer
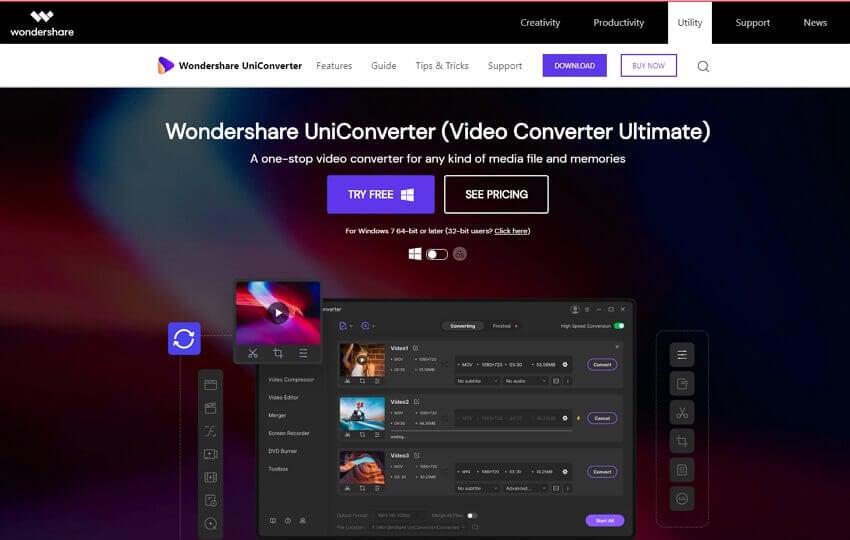
After capturing that award-winning video using your digital camera, use Wondershare UniConverter to edit and convert it professionally. With this program, you can retouch your recorded tape by adding effects, applying watermarks, cropping, trimming, compressing, and so on. Interestingly, users can convert between 1000+ file formats, including MP4, MOV, MTS, 3GP, VOB, WebM, and more.
Wondershare UniConverter – Best Video Converter
 Wondershare UniConverter – Best Video Converter for Mac/Windows

- It supports and converts all video file formats, including MP4, MOV, VOB, MTS, 3GP, and more.
- Edit the camcorder video by trimming, cropping, adjusting effects, adding subtitles, and more.
- Download videos from 10000+ video-sharing websites like Vimeo, Likee, Twitch, etc.
- 90x faster video conversion and recording speed than any other desktop app.
- OS Support: Mac OS X 10.9+ (including Catalina) & Win 10/8/7.
FREE DOWNLOAD FREE DOWNLOAD![]() Security Verified. 5,481,347 people have downloaded it.
Security Verified. 5,481,347 people have downloaded it.
Security Verified.people have downloaded it.
Step-by-step process on how to convert a video with Wondershare UniConverter:
Step 1
Launch the Video Converter.
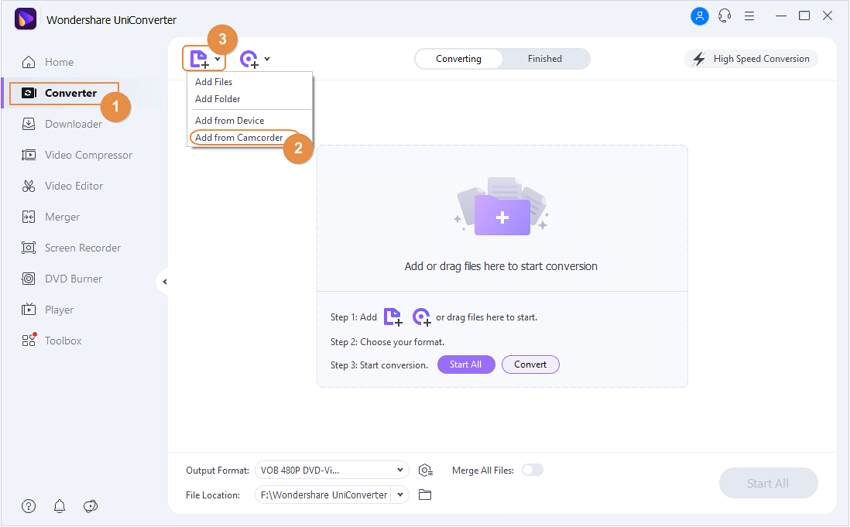
Install and run Wondershare UniConverter on your PC, then click the Converter tab. After that, connect your camcorder to your computer, then click the drop-down arrow next to the Folder icon. Choose Add from Camcorder from the options available.
Step 2
Choose an output format.
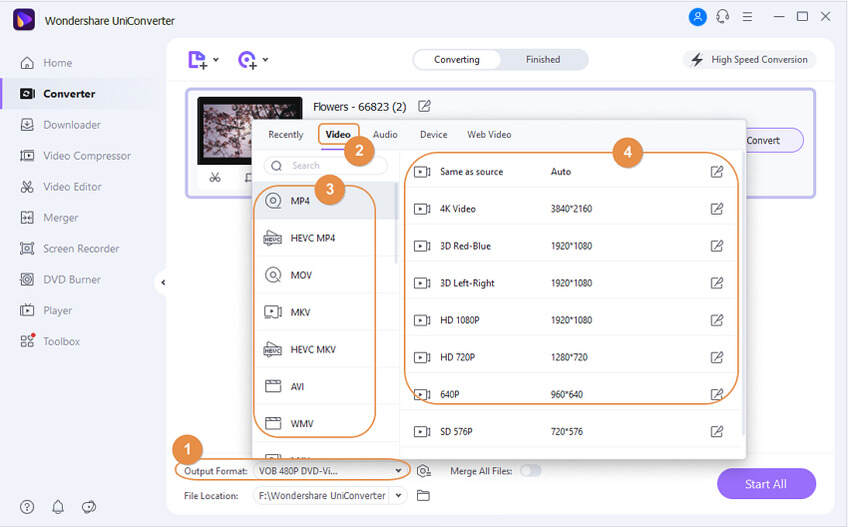
Next, open the Output Format menu, then click Video. Scroll down the available formats and choose a format and the video resolution. To convert the video to a specific device, click the Device tab, then select your device’s name.
Step 3
Edit the video (optional)
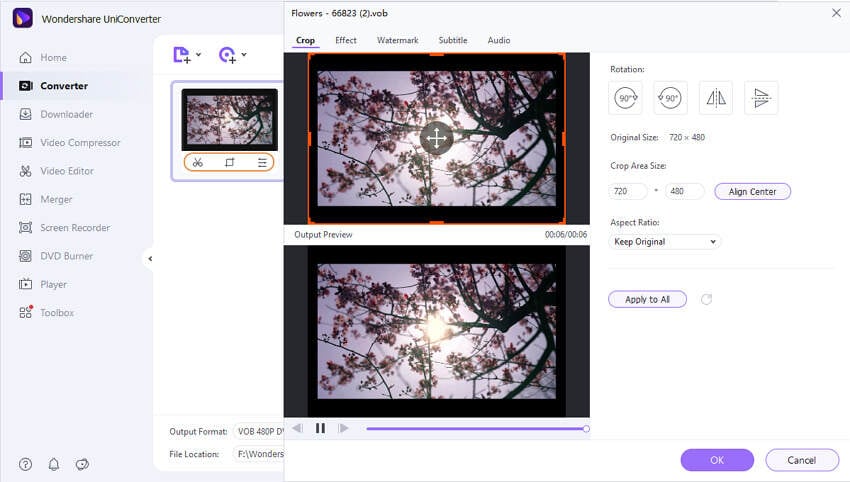
If you want to retouch your video, click the Crop or Effect icon on the video thumbnail, then start cropping, flipping, rotating, adding watermarks, and more. You can also tap the Trim icon to remove the unwanted sections of your video.
Step 4
Start converting the video.
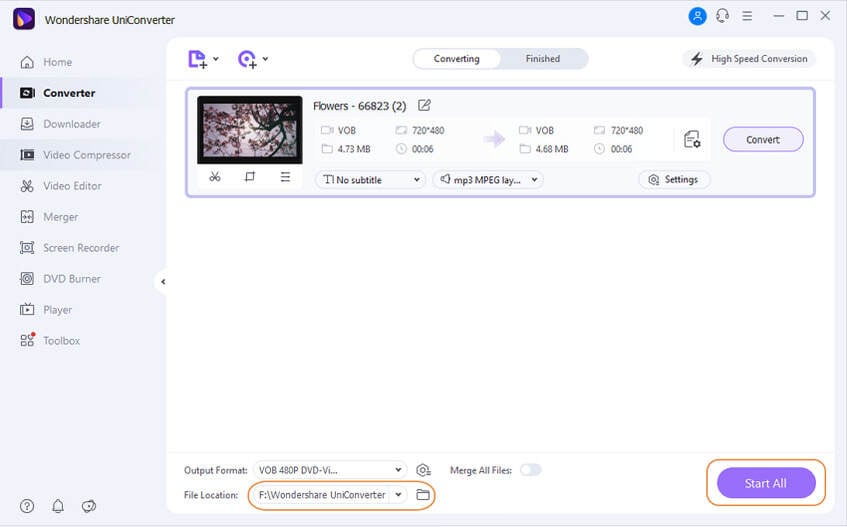
First of all, open the File Location menu, then choose a folder path for your converted video. Lastly, click Start All to begin converting your video file. Enjoy!
Conclusion
We can conclude our introduction to the beauty of using a digital camera recorder to record your videos. Hopefully, we were able to help you with our recommendations. Just remember to make the most of what you have at the moment, and if you need to, use tools like the Wondershare UniConverter to help you along the way.


