INSTALLATION PROCESS OF XAMPP – javatpoint
← prev
Mục lục bài viết
INSTALLATION PROCESS OF XAMPP
As discussed in the earlier part of the tutorial, XAMPP is a cross-platform stack of software that provides web solutions based on technologies like MariaDB, Apache Server, Perl, and PHP. Further, it is supported by many file formats, such as .EXE, .ZIP and .7z- .7zip. Out of the three, the .EXE extension is the easiest to operate upon while installation. In this topic, we will discuss steps to be followed to download and install XAMPP software successfully on your desktops. Since it is a cross-platform software, it is supported by a number of operating systems, including Windows, Linux, and MAC OS. The process to be followed for installation of XAMPP will be explained for all three operating systems:
The installation process in Windows
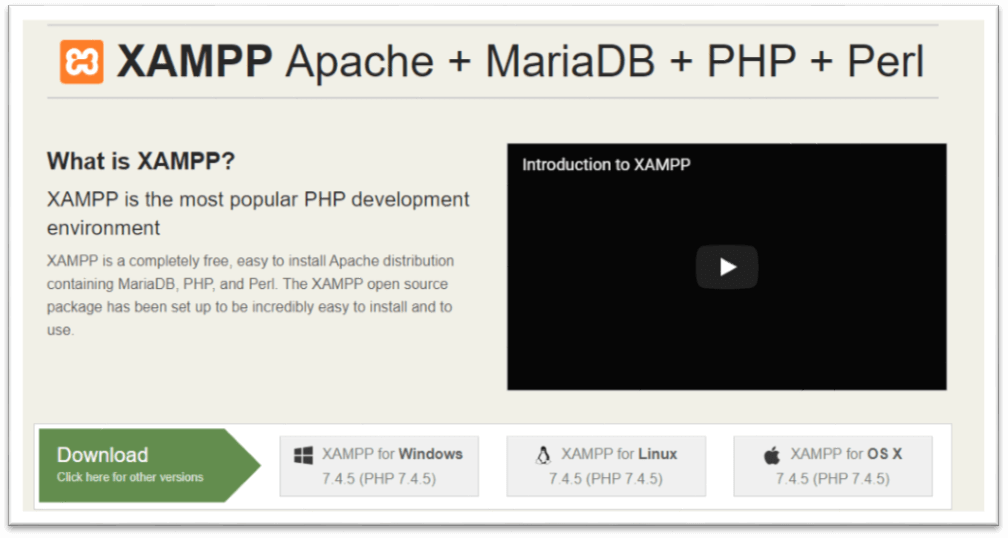
STEP 1- Open any web browser and visit https://www.apachefriends.org/index.html. On the home page, you can find the option to download XAMPP for three platforms- Windows, MAC, and Linux. Click on XAMPP for Windows. The latest version available on the website is 7.4.5.
As soon as you click on it, a message displaying the automatic start of download appears on the screen.
STEP 2- After the download is completed, double click the .exe extension file to start the process of installation.

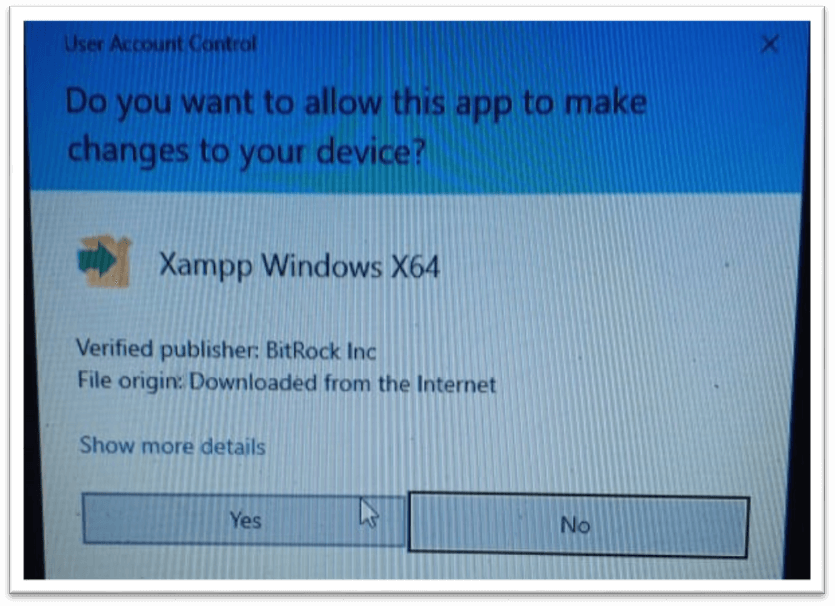
STEP 3- A pop-up screen with the message asking you to allow to make changes on your desktop appears. Click “YES” to continue the process.
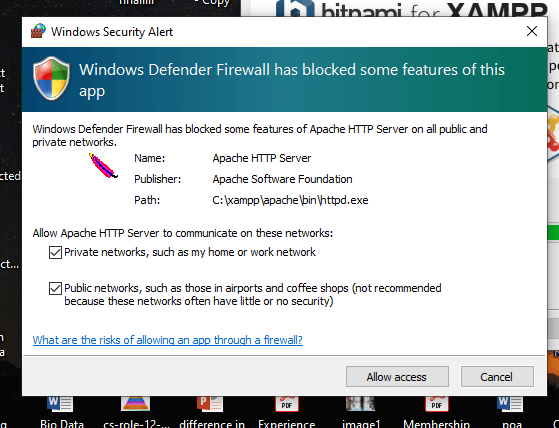
STEP 4- Click to Allow access or deactivate the firewall and any other antivirus software because it can hamper the process of installation. Thus, it is required to temporarily disable any antivirus software or security firewall till the time all the XAMPP components have been installed completely.
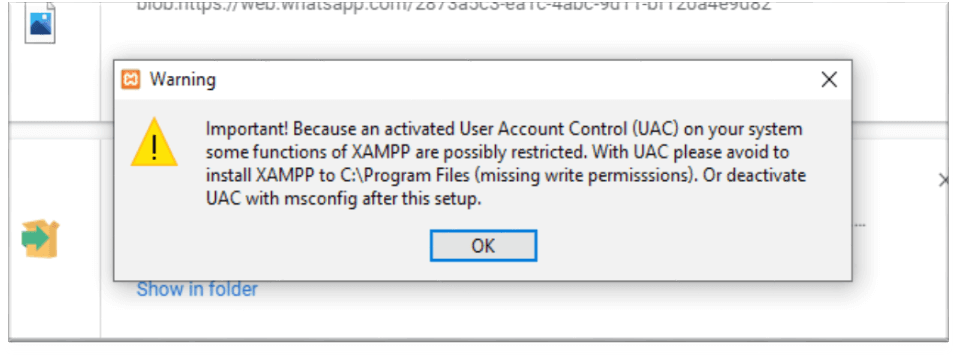
STEP 5- Just before the installation, a pop-up window appears with a warning to disable UAC. User Account Control (UAC) interrupts the XAMPP installation because it restricts the access to write to the C: drive. Therefore, it is suggested to disable it for the period of installation.
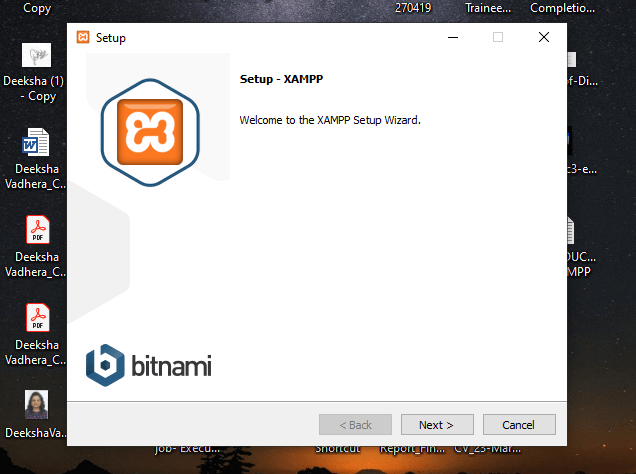
STEP 6- After clicking the .exe extension file, the XAMPP setup wizard opens spontaneously. Click on “NEXT” to start the configuration of the settings.
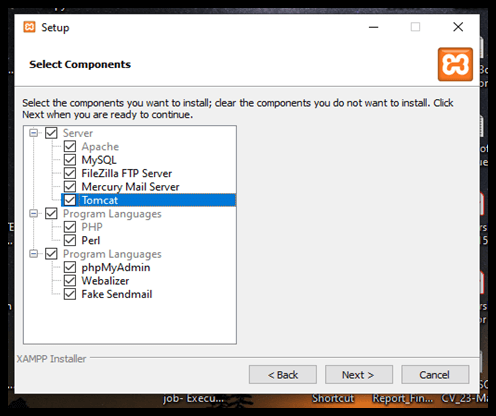
STEP 7- After that, a ‘Select Components’ panel appears, which gives you the liberty to choose amongst the separate components of the XAMPP software stack for the installation. To get a complete localhost server, it is recommended to install using the default options of containing all available components. Click “NEXT” to proceed further.
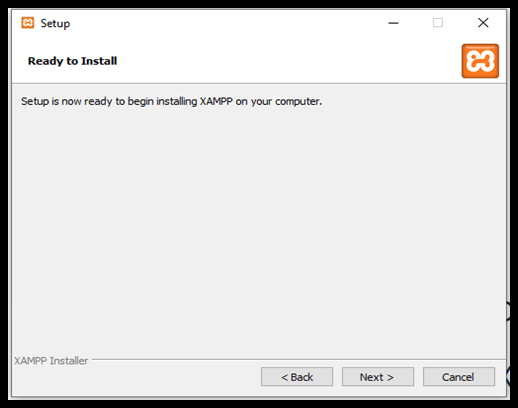
STEP 8- The setup is now ready to install, and a pop-up window showing the same appears on the screen. Click “NEXT” to take the process forward.
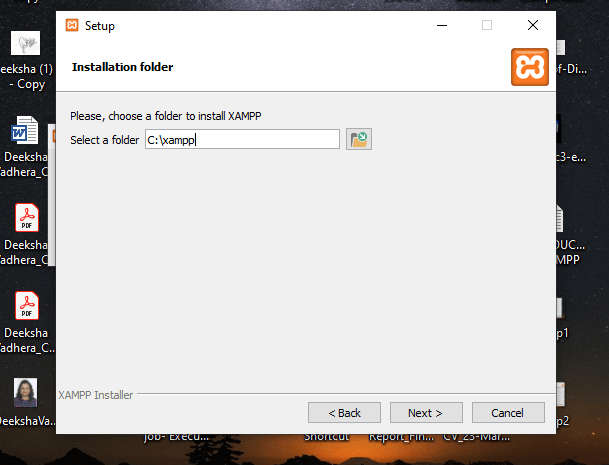
STEP 9- Select the location where the XAMPP software packet needs to be installed. The original setup creates a folder titled XAMPP under C:\ for you. After choosing a location, click “NEXT”.
STEP 10- After choosing from all the previously mentioned preferences (like language and learn more bitnami dialogue box) click to start the installation. The setup wizard will unpack and install the components to your system. The components are saved to the assigned directory. This process may takes a few minutes to complete. The progress of the installation in terms of percentage is visible on the screen.
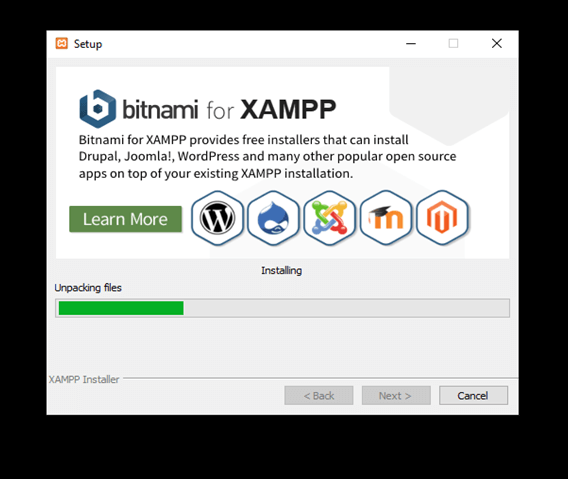
STEP 11- After the successful installation of the XAMPP setup on your desktop, press the “FINISH” button.
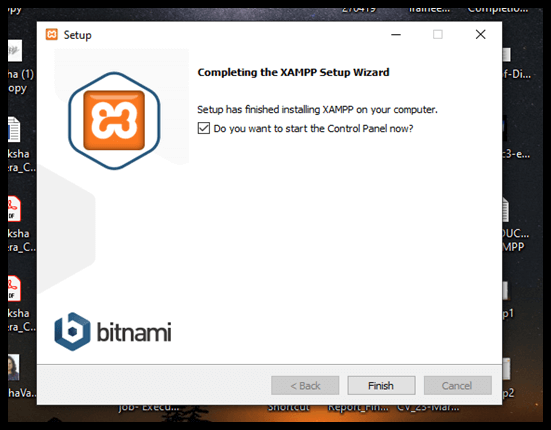
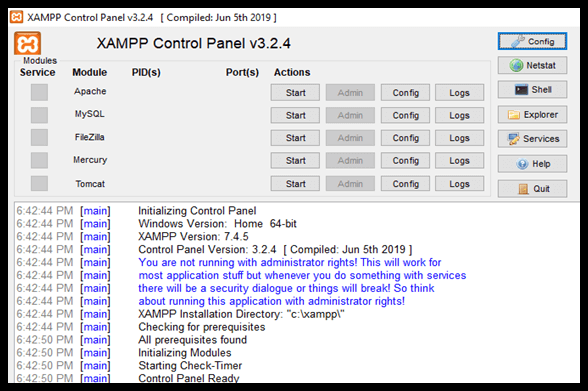
On clicking the FINISH button, the software automatically launches, and the CONTROL PANEL is visible. The image below shows the appearance of the final result.
Next Topic
XAMPP Control Panel
← prev
next →


