How to download and install Windows 10 S

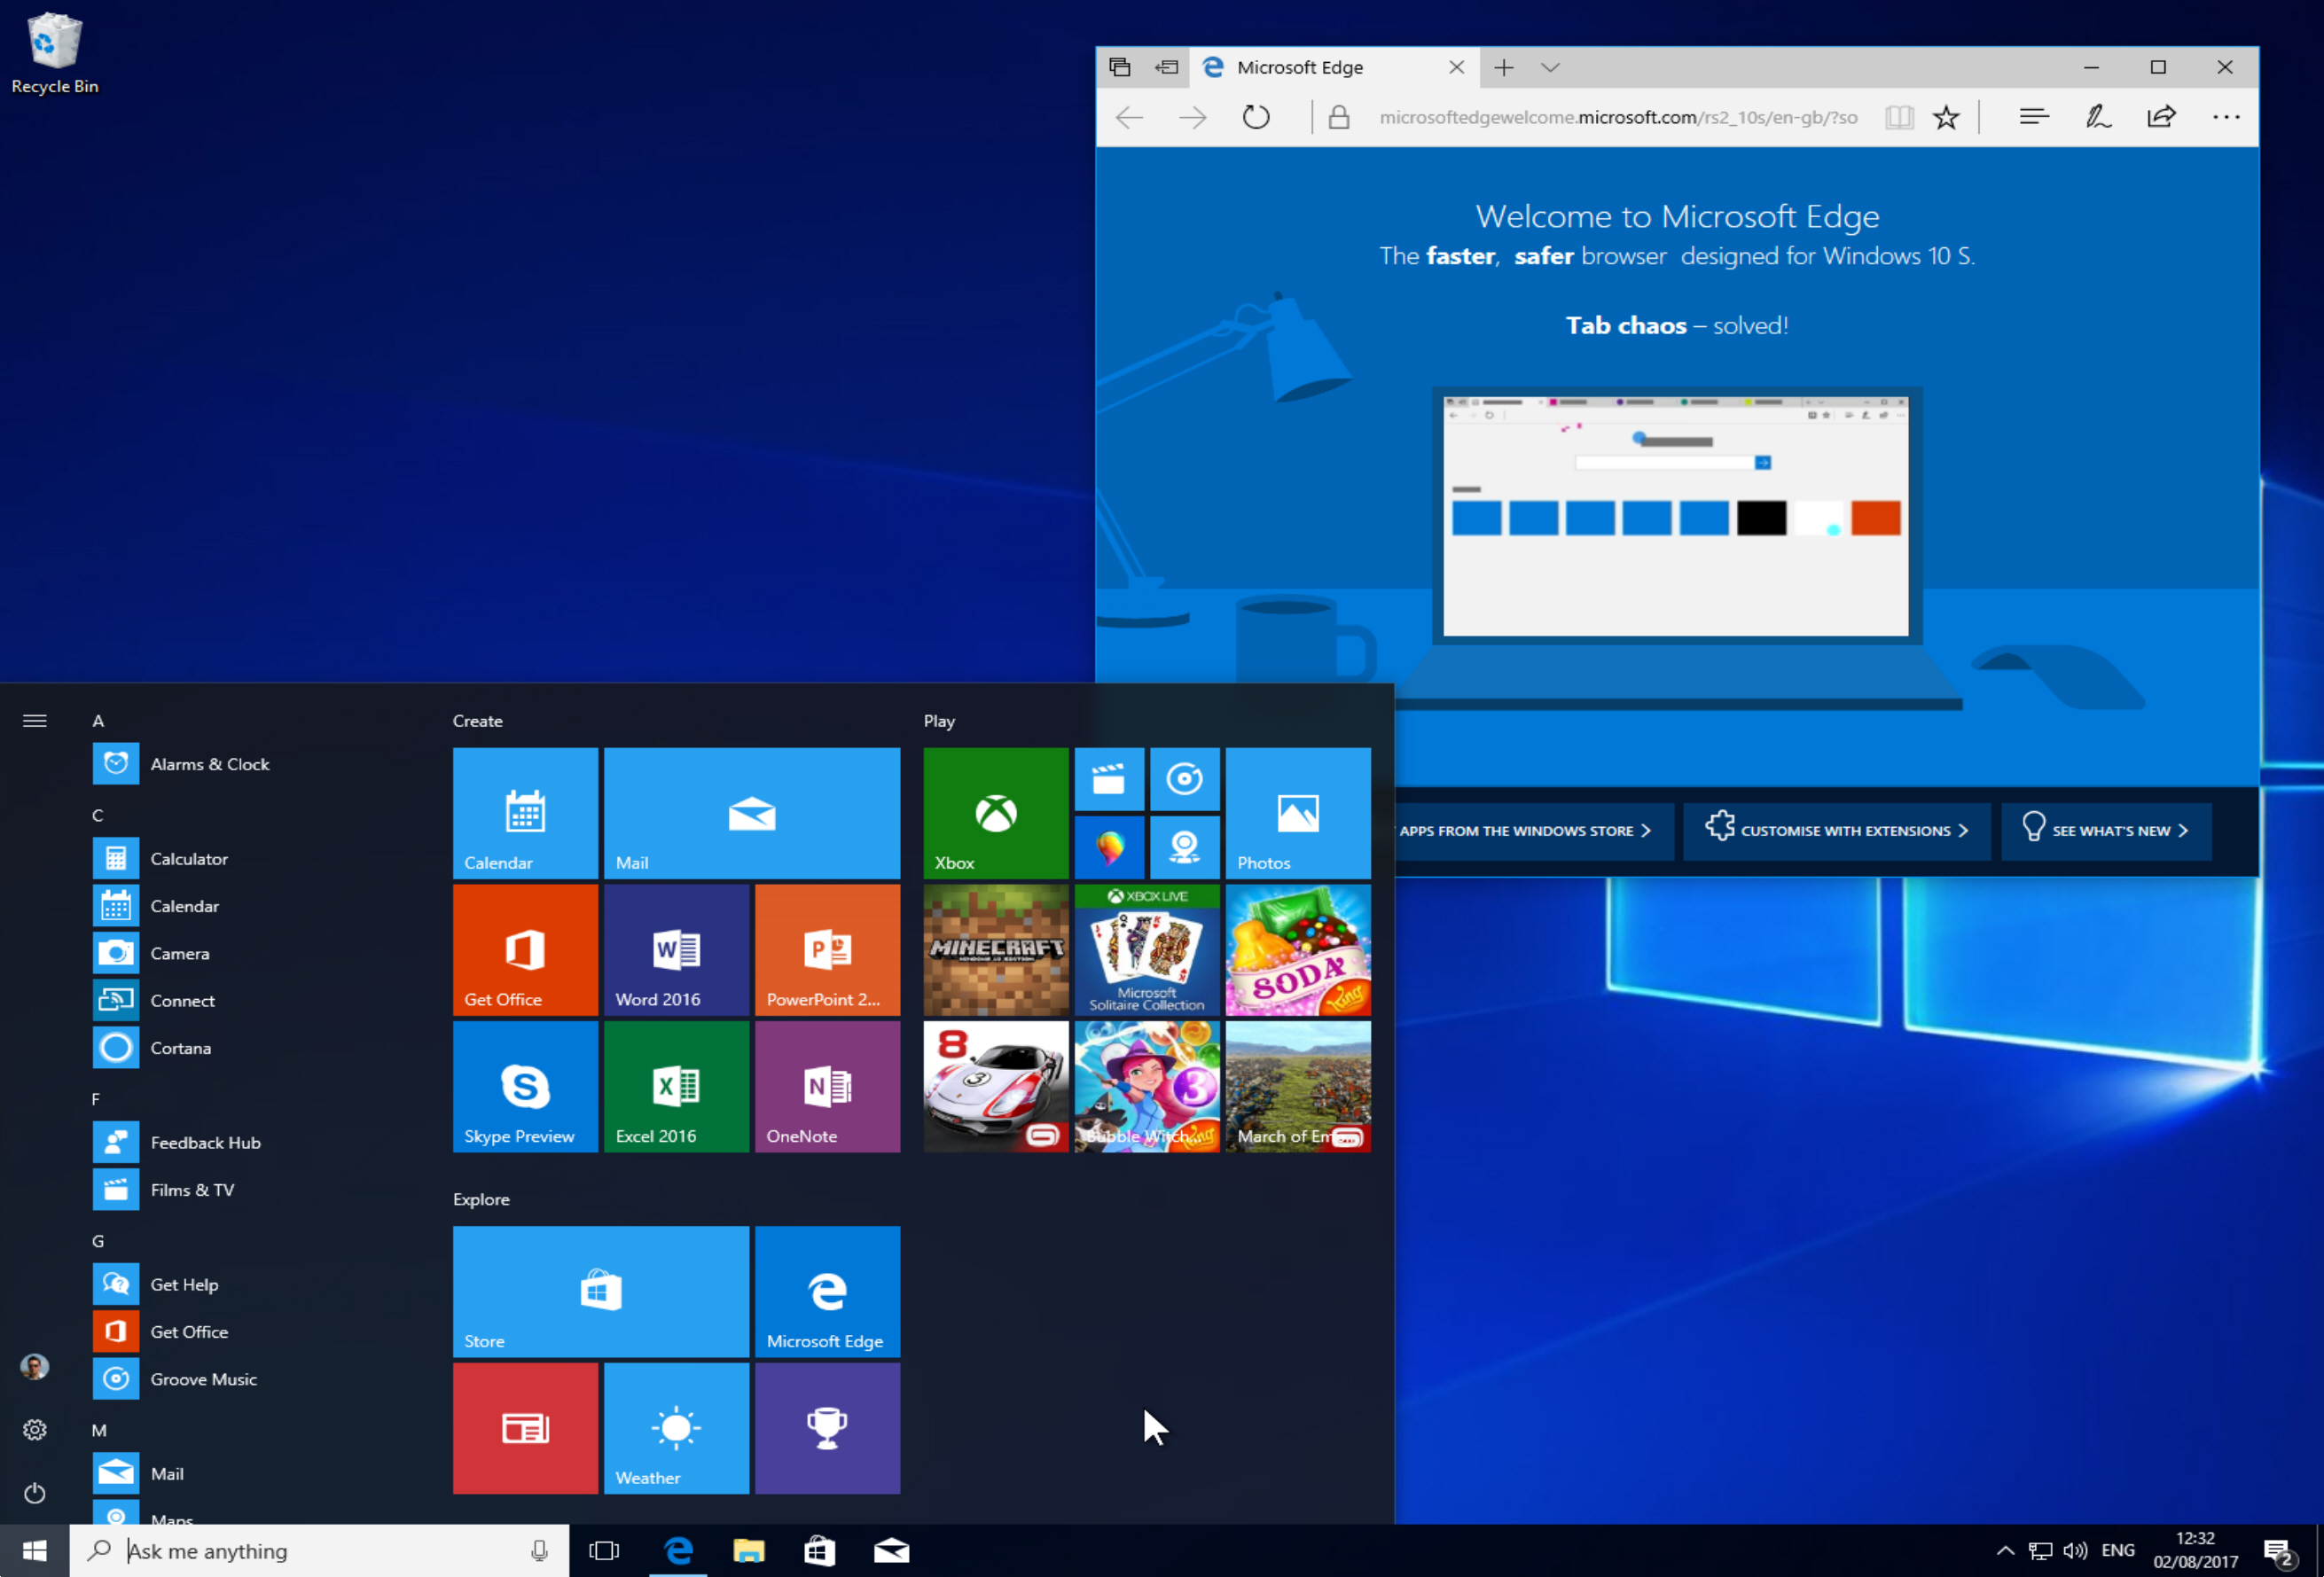
Windows 10 S is a special locked down version of Microsoft’s new operating system. It’s aimed primarily at those in education, and can only run apps from the Windows Store, which offers security benefits, including protection from ransomware.
While the OS is predominately to be found on new hardware like the Surface Laptop, Microsoft last week made it available for developers, and from today anyone can officially download and install it. Here’s how.
Advertisement
Firstly go to this page here. Although it’s for testing Windows 10 s on existing education devices, anyone can download the self-installer.
Read the information to make sure you understand what you can and can’t do. It’s important to note that while you can install Windows 10 S on devices running other editions of Windows 10 it’s not recommended to do so on a Windows 10 Home device as you won’t be able to activate it. You’ll also need to be running the Creators Update (1703), or later.
The Windows 10 S installer will overwrite your existing version of Windows, which means it could screw things up for you, and obviously it won’t be able to run any non-Windows Store software.
For that reason, we’d recommend that you either do a clean Windows 10 install on a spare PC, or better yet set one up in a virtualized environment using VirtualBox. To do the latter, you’ll need to grab an ISO from here. Download the Media Creation Tool and run it. Agree to the terms, then select the option to ‘Create installation media.’ Select the version of Windows 10 you require. If it’s not the one currently selected, uncheck ‘Use the recommended options for this PC’ and select the correct version. Click Next and select ‘ISO file.’ Save the file to your hard drive.
To set up Windows 10 in VirtualBox, download and install the software from here. Run the program and click ‘New’ in the Manager window. In the Create Virtual Machine dialog box enter ‘Windows 10’ as the name of the operating system.
Select Windows 10 as the version. (Choose ‘Windows 10 (64bit)’ if you have a 64-bit ISO).
Hit Next, then set the Memory Size. The recommended figure should be fine. On the following screen choose to ‘Create a virtual hard drive now’ and click Create. Accept VDI (VirtualBox Disk Image) as the hard drive file type. You’ll be asked if you want the new virtual hard drive to be dynamically altered (it will resize as required) or a fixed size. The latter option is faster, so select that. The default size should be fine.
Click Create and VirtualBox will begin building the drive.
When done, select the entry in the Manager and click the Start button. In the ‘Select start-up disk’ window, click the folder icon and navigate to the Windows 10 ISO.
Click Start and Windows 10 should begin to load. Select your language settings, then click the ‘Install now’ button. The installation process will begin. Follow the instructions and install Windows as you would normally. You will to activate the installation, or else Windows 10 S won’t be activated once installed (you can still install it if it’s not activated of course, but you won’t be able to personalize the OS afterwards).
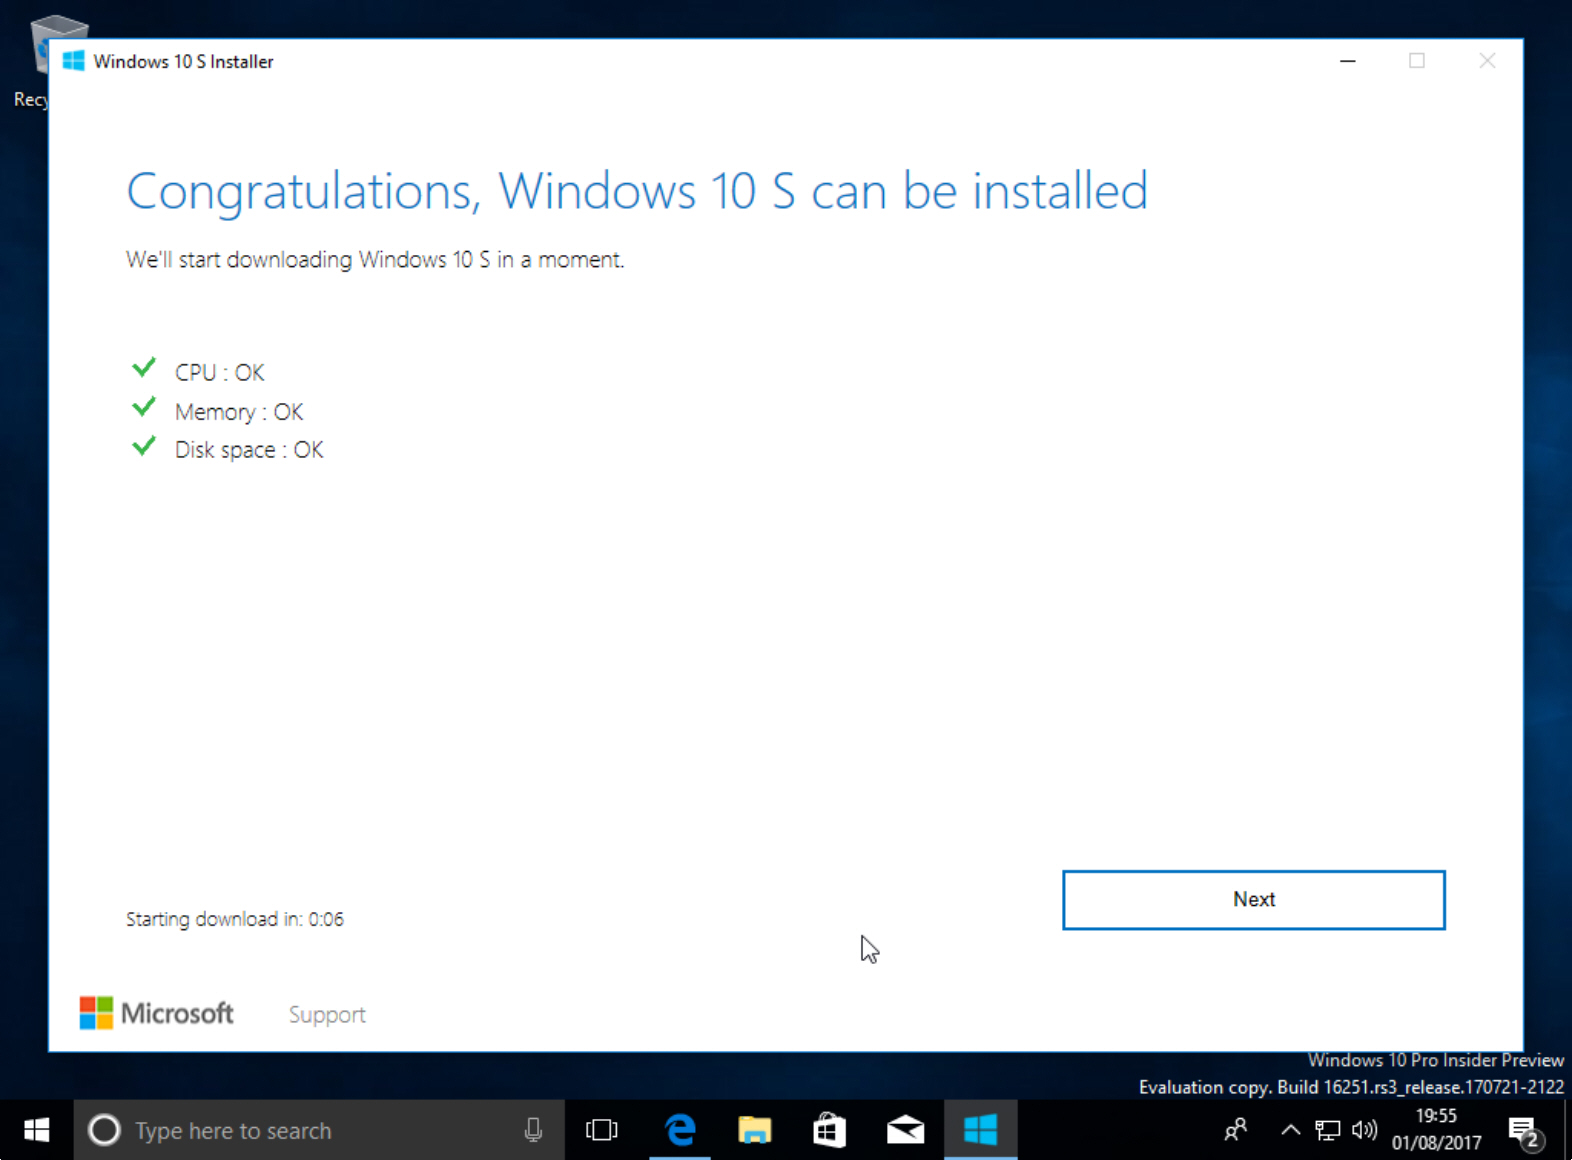
Once it’s fully up and running, download the Windows 10 S installer from the page we mentioned earlier (here) and run it. It will check to make sure your PC, or virtual system, is compatible.

Assuming it is, it begin the installation process. If you change your mind, you can click ‘Cancel installation’ at this stage.
Windows 10 S will be downloaded, and once the files have been verified, installed.
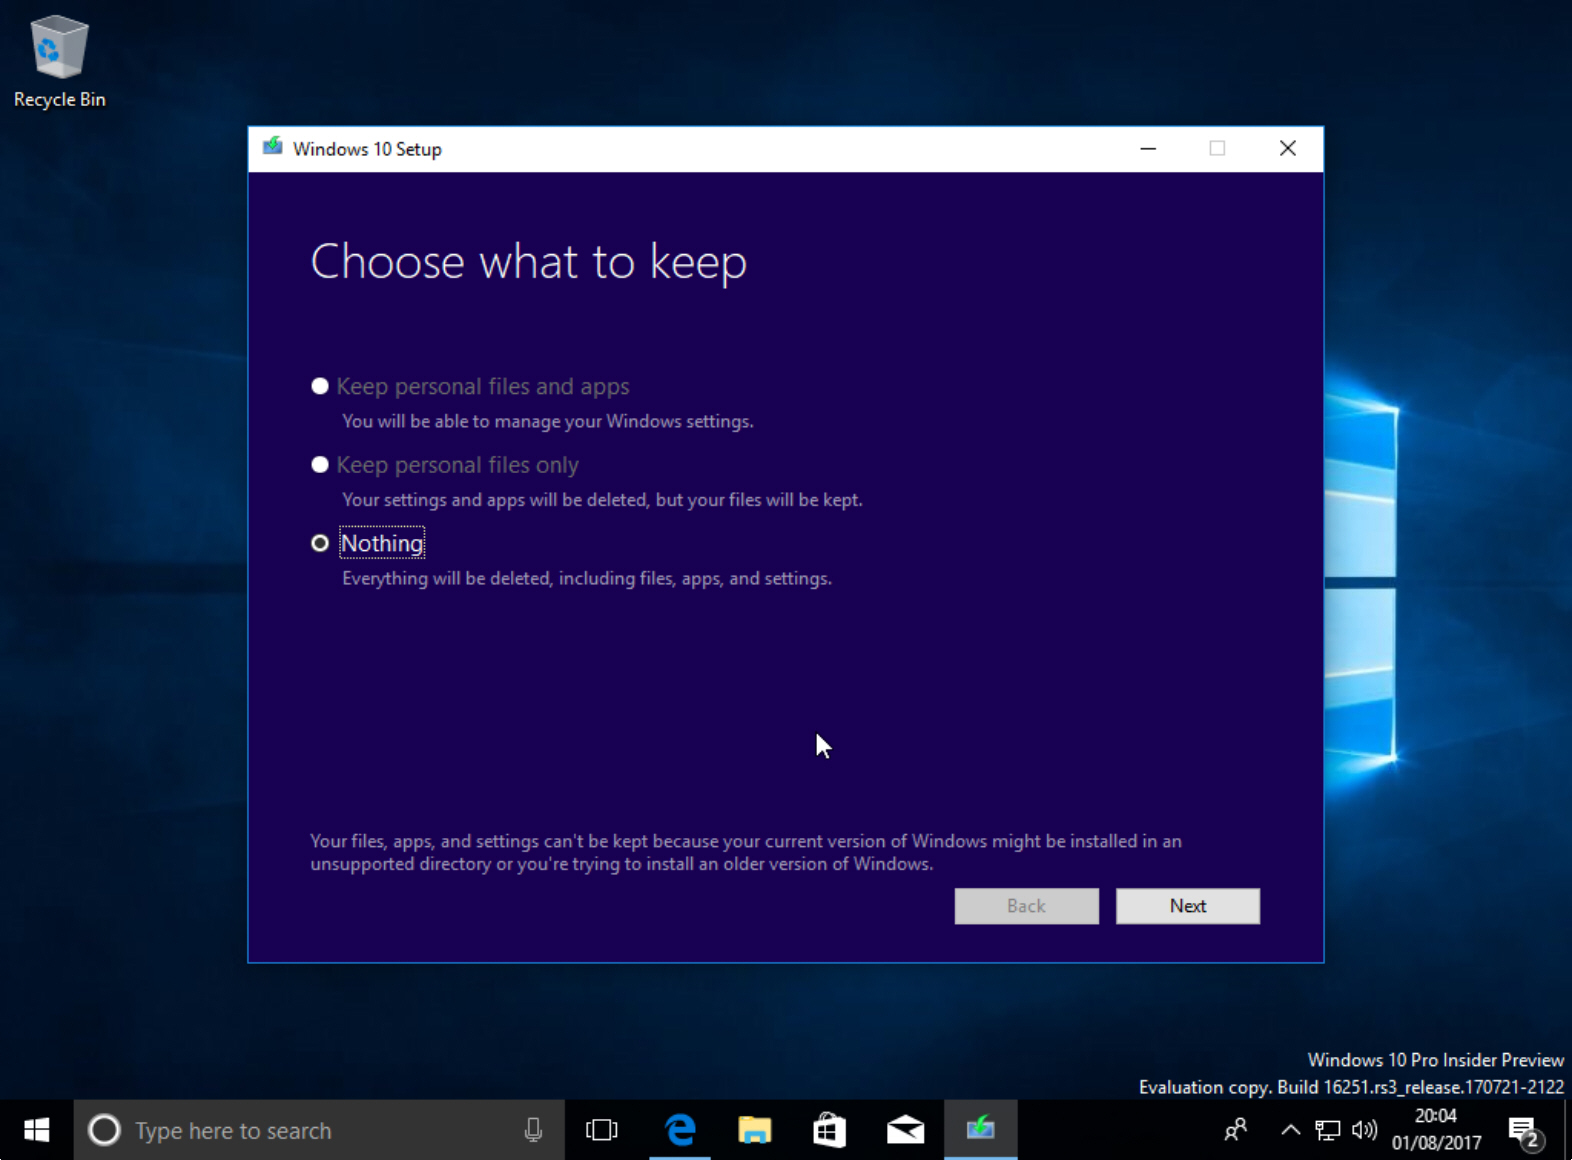
You’ll be asked what you want to keep from your existing installation, with ‘Nothing’ selected.

Click Next and the installer will fetch some updates. Once done, your system will restart and the full installation process will begin. It will take a while to complete, and reboot several times, but when it finishes, and you’ve gone through the configuration steps, you’ll be ready to start using Windows 10 S.
If you change your mind about running the new OS, you will be able to remove it within 10 days by using the Windows Recovery option in Settings. If you leave it longer than that, you will need to re-install Windows 10 using your recovery media.


