Show an image preview before uploading using Angular 7
I am currently working on an Angular 7 based app and as part of one of the requirements, the image preview needs to be shown in the app before uploading the actual image and the file upload control is only allowed to select images. The was very easy and quick to implement and thought of sharing with all of you. So in this short post, find out how to show an image preview before uploading using Angular 7.
Mục lục bài viết
Show an image preview before uploading using Angular 7


If you want to learn all of Angular, I want to personally recommend ng-book as the single-best resource out there. You can get a copy here. The book is updated to Angular 7.
As mentioned earlier, we should only allow image files. This validation can be handled in the HTML or in the angular side. But, we must validate at both the places and we’ll see in the code.
Let’s create an angular component called UploadComponent with the following code.
export class UploadComponent {
  public imagePath;
  imgURL: any;
  public message: string;

  preview(files) {
    if (files.length === 0)
      return;

    var mimeType = files[0].type;
    if (mimeType.match(/image\/*/) == null) {
      this.message = "Only images are supported.";
      return;
    }

    var reader = new FileReader();
    this.imagePath = files;
    reader.readAsDataURL(files[0]);
    reader.onload = (_event) => {
      this.imgURL = reader.result;
    }
  }
}
The above code does the following things.
- The component has 3 variables and one event named
preview. The variablemessageis used to show the validation error message andimgURLwill have the uploaded image URL to be previewed. - The
previewevent first checks for uploaded file reference. If there are no files to upload, it simply returns. It also validates the mime type of the uploaded file as only images are allowed to be uploaded. - Next, it creates an object of
FileReader. The FileReader object lets web applications asynchronously read the contents of files stored on the user’s computer, using File or Blob objects to specify the file or data to read. ThereadAsDataURLmethod starts reading the contents of the specified file and, once finished, the result attribute contains URL represents the file’s data. - The
reader.onloadevent is triggered once the reading operation is successfully completed. Inside the load event,imgURLvalue is set to the result returned by the fileReader object.
Next, add a new HTML file named upload.component.html with the following code.
<h3>Angular 7 Image Preview before Upload:</h3>
<span style="color:red;" *ngIf="message">{{message}}</span>
<input #file type="file" accept='image/*' (change)="preview(file.files)" />
<img [src]="imgURL" height="200" *ngIf="imgURL">
- The file upload control has an attribute called
acceptwith the value set to “Image/*”. Theacceptattribute specifies the types of files that the server accepts (that can be submitted through a file upload) and this attribute can only be used with <input type=”file”>. - The
srcattribute of the image tag is set to imgURL property defined in the component.
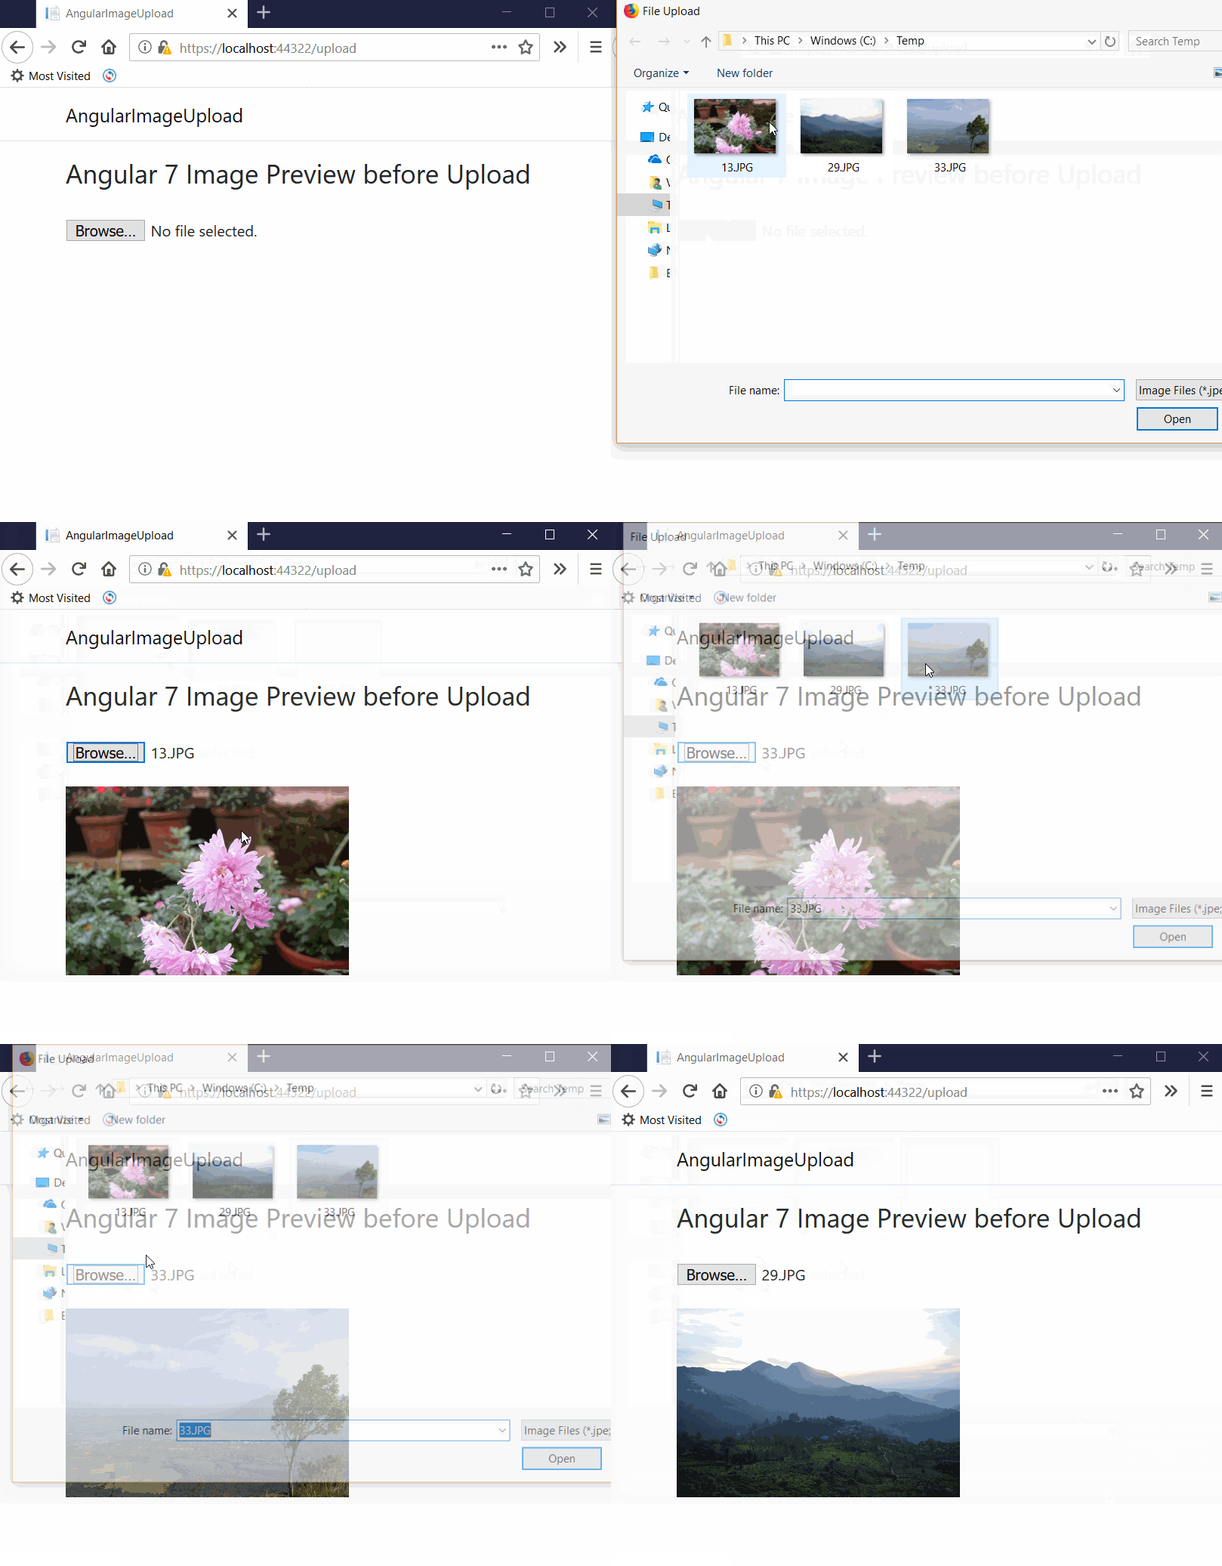
That’s it. You should see the following when you run the app.

Thank you for reading. Keep visiting this blog and share this in your network. Please put your thoughts and feedback in the comments section.
If you really want to master Angular 7, ng-book is the single-best resource out there. Get your copy here.
PS: If you found this content valuable and want to return the favour, then
If you found this content valuable and want to return the favour, then 


