Uploading files directly to your media library – Edublogs Help and Support
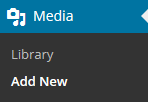
By clicking Add New on the Media menu you can upload image, audio, video and other files to your Media Library without having to start a new post or page.
This method can be used to upload any file provided:
- It is an allowed file format.
- Allowed file formats include: jpg jpeg png gif doc pdf mp3 ppt wmv mp4 xls ins isf te xbk notebook m4a ist kmz kes mov flp avi swf wxr xml wav fjsw docx pptx xlsx xml m4v max kmz zip
- The file is not larger than the maximum file upload size (50 MB).
- You have adequate storage space available. Your storage space allowance is displayed in your media library (Media > Library) and is based on all the files in your media library.
Mục lục bài viết
Upload Files
You upload files directly to your media library as follows:
1. Click on Media > Add New.

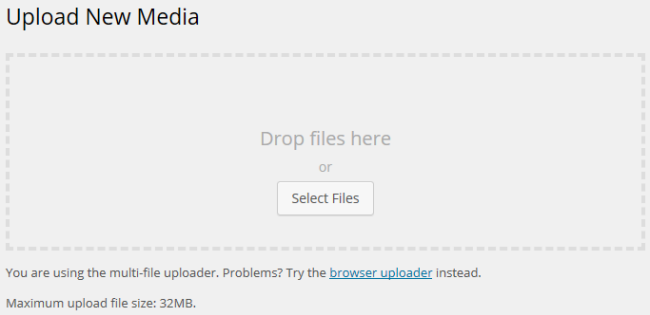
2. On the Upload Media page click on the Select Files to choose a file from your computer to upload.

3. Locate the file(s) on your hard drive
4. Click Open to start uploading the file
5. While your file(s) are uploading you will see a progress bar.
6. When a file has finished uploading, you will see a Edit link on the right.
![]()
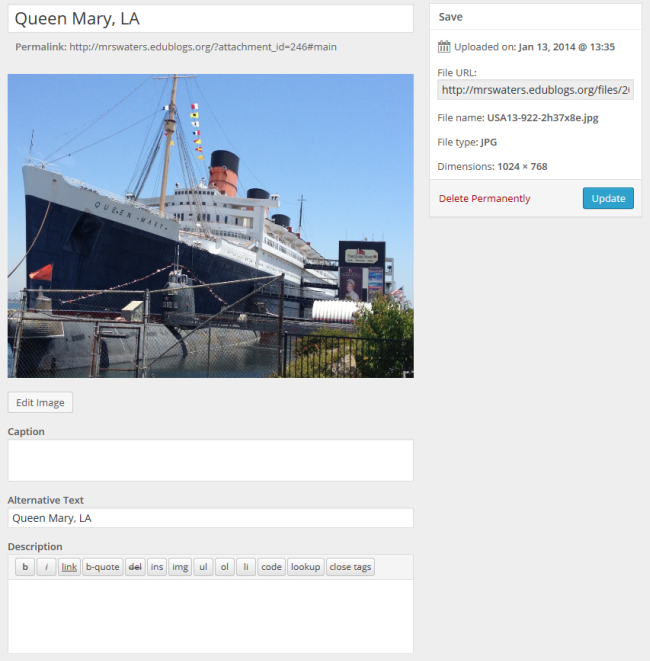
7. Clicking on the Edit link allows you to edit the Title, Caption, and Description for a file
8. You can also copy the File URL location. This is what you use to link to the file in Text widgets, links (via Links > Add New) and posts (or pages).

The following image settings can be changed:
- Title – Image title to be displayed when the image attachment page is viewed.
- Alternative text – displayed when images don’t load.
- Caption – displayed when a caption is added.
- Description – information you want displayed when an image is viewed on it’s attachment page.
The following image settings can’t be changed:
- File name – name of your file. If you want this changed you need to rename the file on your computer before uploading.
- File type – Automatically displayed based on the file type you uploaded.
- Upload date – date the image was uploaded.
- Dimensions – width and height of the original image.
9. Once you’ve completed all edits click Update.


